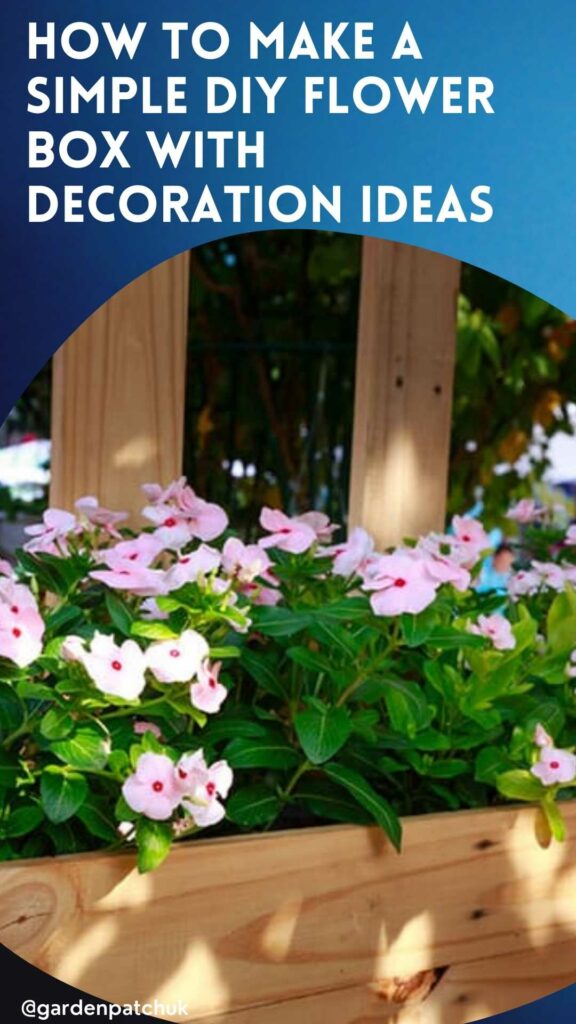
Are you the type of gardener who always finds new flowers to cultivate? If planting space is a recurrent problem, flower boxes can save the day.
The best thing about flower boxes is that you can easily make one yourself. And you can put them everywhere—around the garden, along the driveway, on the decking, and around the house too.
Why worry that your treasured plants will perish during the cold winter months when you can shelter them indoors? When spring comes, you can easily move them back outside. Flower boxes make that easy.
Here’s a step-by-step guide to building a flower box, plus practical ideas to build planters without spending a penny.

Credit: Shutterstock
How to make a flower box – a step by step guide
Wooden boards are the ideal material for making an attractive wooden flower box. If you have any leftover boards from other projects, perfect! If not, you can buy boards inexpensively from any DIY store. Make sure to condition the wood if it hasn’t been pressure treated.
Cedar fence slats are a great option as they’re widely available and affordable. Also, cedar wood is an excellent choice for flower boxes because it has antifungal and antimicrobial properties.
Materials & tools you’ll need
- Wood boards
- Screws
- Glue
- Saw
- Electric screwdriver
- Tape measure & chalk
- Safety goggles and gloves (optional)
Step 1 – Cut the wood boards
Before you start cutting, decide on the size and shape of your flower box. This largely depends on where your box will go and how many plants you’d like to grow. Make sure your box is at least 8-12 inches deep, you don’t want the roots to be cramped.
If you’re using scraps, the number of wood boards will dictate the size.
Your first task is to identify a board that’s wide enough to use as the bottom of the box. If you don’t have one, you can build a base by screwing two smaller pieces together. Use a bit of glue to make sure that the boards are joined together securely.
Next, figure out whether you want to build a cubic box or a pyramidal one. If you choose a cubic box, cutting the slats that make up the walls is an easy job. All you have to do is measure the length of one side and cut as many slats as you need.
Cubic box
For a small flower box, two slats on each side will be enough. This means you’ll have to prepare 8 wooden slats in all. For a higher flower box, each wall will have 3 slats, so you’ll need to cut 12 wood board pieces.
Pyramidal box
For a pyramid-shaped box, the slats on the upper rows will be longer than the ones on the lower rows. Make them 1-2 inches longer, depending on how wide you want the box to be.
Tip: Keep the electric saw at hand, as each slat will have to be cut at an angle. Check if the slats on adjoining sides fit well together. Trim where necessary.
Step 2 – Build the walls of the flower box
If you build a cubic flower box, building the walls is a simple job. All you have to do is to screw the first row of slats to the bottom, then add as many rows as you want. Place the screws at regular intervals, 2-3 inches apart.
Next, you need to screw the ends of the slats together, using at least 2 screws at each corner.
Tip: To avoid wood splintering, always pre-drill the holes.
For a pyramid-shaped box, you should test how the four slats in the same row fix together before you start screwing them in place, just in case there’s more trimming to be done.
Step 3 – Drill drainage holes
Last but not least, drill a few holes in the bottom board to allow water to drain. If too much water accumulates in the soil, the roots of your plants may start rotting.
Your flower box is now ready!

Whip up a simple flower box from leftover wood scraps. Image credit: @hexibohome
How to make a flower box look better
There are many ways to make a plain flower box look prettier. If you’re going to make several flower boxes and place them around the garden or inside your house, you could decorate them in a similar style to create a sense of unity.
Here are some ideas to pretty up your flower box:
Use an oil-based stain
With an oil-based stain, you can give the wood slats a distressed look. This can also help to hide any defects. A simple layer of stain is enough to give the wood a low-key, finished look.
Paint the stained wood
You could choose warm colours like red, yellow and orange to match the natural colours in your garden or be bold and choose vibrant or dark colours to make your boxes pop. You can always re-paint them if you change your mind!
You could paint all the flower boxes in your garden the same colour if you like a coordinated or more formal look or mix-and-match colours for added interest.

Create a welcome pop of colour by giving your flowerbox a lick of bright paint. Image credit: @alnwick_home_
Decorate your flower box
If you feel like drawing, you can decorate your flower box in any way you like. How about adding beautiful garden insects like bees, butterflies, or ladybirds to your box? If you have kids, you could let them join in the project and express their creativity.
You could also attach wooden decals or personalise your flower box using letter stencils.
How to build a flower box without spending a penny
If you want to make a flower box and you don’t have any scrap wood lying around the house, you can easily repurpose wood pallets. If you don’t have any, visit a couple of large stores in your area and ask them about old pallets. Many stores have a problem with non-reusable pallets and will be glad to get rid of them.
Once you get home with your pallets, start taking them apart. Select the wood pieces that look in good shape, make a pile of them, and see how big a flower box you can make out of them. You could also make smaller boxes that you could use to build a vertical garden.
Here’s what you need to do:
- In case the wood is rough and uneven, sand it before use.
- Stain it. Repurposed pallet wood is not of the best quality, so it could really use a coat of stain to make it water-resistant.
- Cut the wood pieces to measure.
- Get enough pieces to build the bottom of the flower box and the walls.
- If the wood pieces are not wide enough, you can screw 3 or 4 together to make the bottom of the box.
- Build the walls of the box by placing the lower row of slats first, then add another row, depending on how high you want the box to be.
You can also use this method to build large planter boxes for your vegetables. Pallets are usually made of long wood boards, which makes them particularly suitable for rectangular planters.

Repurpose a humble pallet into a beautiful flower box. Image credit: @bloomingbuddle
How to build a wood flower box fast
The easiest way to build a flower box quickly is to use large wood boards that require little to no cutting. You’ll just need to make sure that the boards you use for the sides of the box are the same length.
Also, there’s less to assemble if you only have to secure the walls to the bottom. Place the screws at 2-3 inch intervals. Pre-drilling the holes is essential as large wood boards are prone to splitting.
How to make flower boxes last
If you built your flower box out of cedar wood, you can look forward to using it for many years to come. Cedar is quite resistant, but it’s still wood, and it’s in constant contact with moisture, not to mention inevitable water spills.
The best method to make wood water-resistant is to stain it. You will have to do this before starting to assemble the box.
For outdoor use, consider using several coats of wood stain. First, use a pre-stain conditioner for wood. The first layer should be an oil-based stain. Allow it to dry for up to 3 hours. Next, apply a coat of acrylic stain, which is specially formulated to resist moisture and mould.
Tip: If you’re using scrap wood, you should sand it before staining to eliminate superficial defects or wood knots. A dark shade of stain can help camouflage minor defects.

Stain or paint your flower box to help it last longer. Image credit: @casaredesign1
The wrap up
There is no one-size-fits-all when it comes to making a flower box. You can use whatever wood pieces you have at hand and let your imagination run wild.
You can even build a flower box that doesn’t cost anything. But as you’re still investing time and energy, you’ll want it to look good and last for many years. For the best results, use good quality materials and stain or paint the wood to make it look better and last longer.
Read more: What can I plant in a flower box?

Save this pin for later


