Planter boxes are a great way to grow many types of plants, flowers, vegetables, and herbs. Even if you already have an established garden, you can always add a few planter boxes for plants that require special types of soil or watering patterns. If you live in an urban area, you can put a planter box on your doorstep or balcony to satisfy your gardening instincts.
You can easily build your own wooden planter box by buying a few pieces of wood or using scraps left from other home improvement projects.
Here’s a step-by-step guide to how to build a cedar planter box in just a couple of hours. And it’s quite cheap, you can make two boxes for less than £100. But first…

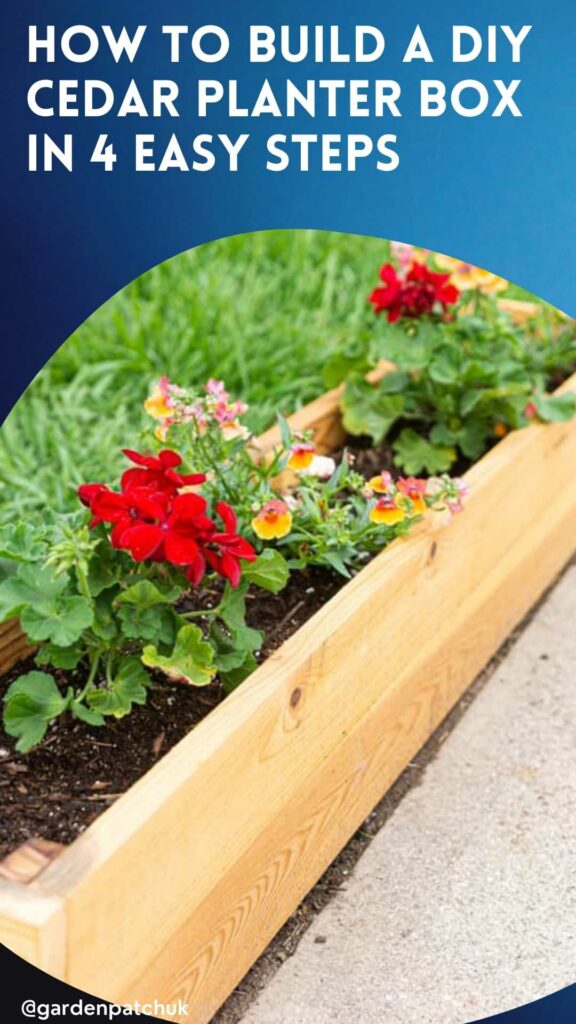
You can make your own cedar wood planter boxes inexpensively. Credit: Shutterstock
Why cedar for planter box?
Frankly, you can use any type of wood to build a planter box. But if you want something that will last, choose cedar.
Planter box cedar has several qualities that make it great for this project. It requires little maintenance and won’t rot easily. This type of wood has antifungal and antibacterial properties and can withstand humid climates due to the natural oils it contains.
Tip: If you want your planter box to last even longer outside, you can seal it once a year, but cedar won’t start to break down if you don’t.
Teak is also great for outdoor furniture and planter boxes, but it’s usually more expensive.
Tip: Speaking of cedar, look out for western red cedar which is also heat resistant. The wood doesn’t become hot even in searing temperatures. This helps to keep the soil and the roots of your plants cool. Stay away from pressure-treated lumber which is full of chemicals that might damage your plants.
How to build a cedar planter box step by step
First, decide how big the cedar wood planter box should be. This depends on the type of plants you’ll grow in it, but also on its future location.
If you want to place a planter box near the front door, you’ll probably want something bigger. On the other hand, if you want to line a garden path with cedar planter boxes, go with smaller ones so you can fit several of them the way you want.
Have a look at this guide and then adjust the measurements according to your needs and preferences.
Materials you’ll need:
- 4 pieces of cedar wood – 1-in x 4-in x 8-ft
- 2 pieces of cedar wood – 1-in x 2-in x 8-ft
- 16 pcs of 2” screws
- 50 pcs of 1 ¼” screws
Tools you’ll need:
- Mitre saw
- Measuring tape
- Electric screwdriver
- Carpenter’s square
- Safety gloves
Step 1 – Cut the wood to measure
The easiest way to get this job done as quickly as possible is to start by cutting down all the pieces you’ll need to create your planter box.
- For the bottom slats, cut 8 pieces of wood that are 12” long and 3 ½” wide.
- For the short side rails, get 4 pieces of cedar wood that are 13 ½” long and 1 ½” wide. The 4 rails on the long side will have to be just as wide, but 28” long.
- You also need 22 slats, 11” long and 3 ½” wide.
Now that you have all the pieces, you can start assembling your planter box.
Step 2 – Assemble the sides of the planter box
Let’s start with the short sides of the planter box.
You’ll need 2 rails and 3 slats for each side. Attach them to each other from the inside with 1 ¼” screws. Repeat this step to create the long sides.
Tip: Pre-drill holes in your rails and slats to prevent the wood from splitting.
Step 3 – Create the frame of the box
You need to put together the short and long sides by attaching them at the corner.
Use a carpenter’s square to check that the sides are attached at a 90-degree angle.
Use 2” exterior screws for this job, placing 2 per corner.
Step 4 – Create the bottom of the box
Use the remaining slats to create the bottom of the box. Attach them to the frame with 1 ¼” screws. While you’re at it, don’t forget to drill a few holes in the bottom slats for water drainage.
Tip: If you’re going to put the cedar planter box in the garden and won’t be moving it around, you could go without the bottom. Alternatively, you can fill the bottom of the planter box with a layer of rocks and gravel, which will allow the water to drain and a bit of airflow to keep the roots from rotting.
At this point, you can seal or stain the wood to keep moisture out. If you don’t, well, no worries, cedar wood is naturally water-resistant and ages to a pleasant grey hue that will look good for years to come.

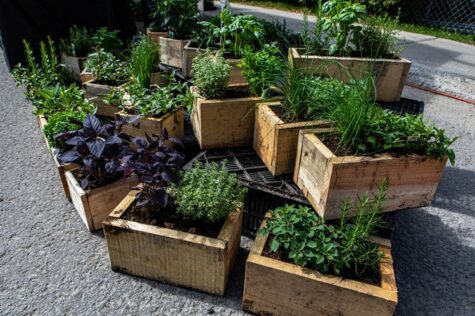
You can seal cedar wood if you wish but it’s naturally water-resistant. Credit: Shutterstock
Large cedar planter box ideas
The ideal size for a cedar wood planter box varies with the type of plants that will go in it. So, it’s always best to start with the plants in mind.
High square planter boxes
If you’re planning on putting in a single plant that grows tall and has long leaves, a high, square planter box is great. It will provide enough room for the plant to develop without taking up too much ground space.
Varying height planter boxes
But if you’re going to grow cacti in the planter boxes and display them together on your patio, make sure that the boxes are of different heights. You want to avoid monotony at all costs, especially if the plants themselves are similar.
Low rectangular planter boxes

Credit: Shutterstock
On the other hand, small plants with colourful flowers will look much better in a rectangular box, preferably one that’s not very high. You can place this type of cedar planter box along the wall of the house or the fence. A planter box filled with decorative plants will also look fabulous in a gazebo.
Tall planter boxes for vegetables
If you want to grow your own vegetables, cedar wood planter boxes are best. Different vegetables have different watering or sun exposure requirements, so it’s best to grow them in separate boxes.
The cedar planter boxes should be as large as possible so you can have bigger crops. Also, make them tall enough if you don’t want to break your back tending to them.
So, what planter box will you build?

Save this pin for later


