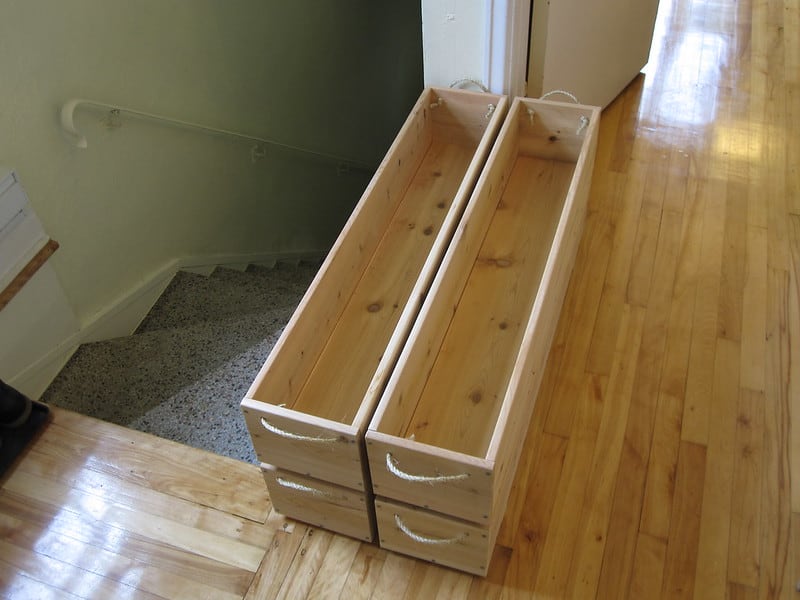
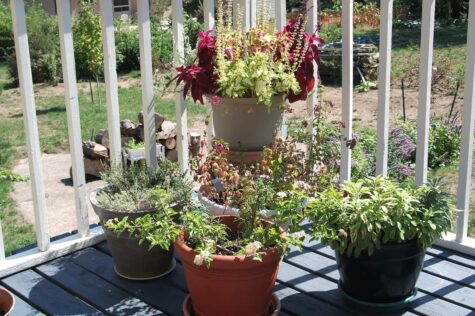
If you’re after a cheap planter box and are up for the challenge of building your own, consider making a plywood planter box. Plywood planters are quite lightweight, but that doesn’t mean they aren’t effective.
Here’s what you need to know to build your own plywood planter box.

Credit: man pikin via Flickr
How to build your own plywood planter
Before you can start to build the planter, take some time to gather all the tools and supplies you’ll need. Here’s a quick list to get you started.
Tools:
- Saw
- Hammer
- Sander
- L-square
- Paintbrush
- Carpenter stapler
- Drill
- Cup drill bit
- Measuring tape
Supplies:
- Nails
- Wood preservative
- Plastic liner
- 1.6 metres 2x2s
- One 0.8×1.2 metre plywood sheet
- Wood glue
- L-brackets
Method:
Do you have everything you need? Let’s get started on your very own plywood planter box.
Step 1: Measurements
The first thing you’ll have to do is get the measurements right. Get out your measuring tape, L-square and a pencil.

Use the measuring tape to measure out four 50cm pieces from the 2×2’s you got. Mark them with the pencil and use the L-square to draw a straight line where you will need to make a cut later.
Next, you’ll need the sheet of plywood. Measure out five sections that are 40x40cm. Use the L-square to draw straight lines and a pencil to mark where you’ll need to cut later.
On one of the square pieces, you just measured out, mark the four corners for cutting as well. You will need to measure the width of the two by two to get a perfect measurement. You should end up with four tiny squares, one in each corner of the large square piece.
Once you’re sure of your measurements, you can move on to the next step.
Step 2: Cut the wood
For this step, get out your saw. It should be fairly easy to simply follow the lines you’ve already drawn in the previous step. Use the saw to cut out the pieces for your box and set them aside.
You will also need to cut the 2×2’s into the sections you marked off. Once everything is cut and ready, you can start assembling the planter.
Step 3: Assemble the planter
To put together the planter you’ll need some nails, wood glue, a hammer, the cut 2x2s and the four 40x40cm pieces.
To start, choose a 2×2 piece as well as a 40cm piece. Put some glue on the 40cm piece and press the 2×2 to it. Make sure the top of the 2×2 is perfectly lined up with the edge of the other piece. Flip the whole thing around and use three nails to secure the pieces together.
Wipe away any glue that pops out of the side. Repeat this action until all the pieces are in place except for the last piece with the extra corners cut out of it.
Step 4: Attach the bottom
Attaching the bottom can be a bit tricky. First, turn the whole structure upside down. Slide the bottom in place and double-check where it touches the rest of the structure. Once you’re sure, put some glue in those areas and slide the bottom back in place.
Use small nails to secure the bottom to the other 4 plywood pieces. To make it extra secure, make sure to attach L-brackets to the structure. Simply place the L-brackets flush against the bottom and secure them to the 2x2s. This way you’ll know that the little nails you used aren’t the only thing keeping the bottom from falling out.
Step 5: Finish up
If you haven’t made any drainage holes, now is the time to do it. Use your drill with a cup drill bit or a very large drill bit to create decent drainage holes in the bottom of our planter box. Once done, you can start to protect the wood against water damage.
Prepare the wood according to the instructions on the container before you start to apply the preservative. You will most likely need to sand the wood so make sure you have sandpaper or a sander nearby. once done, apply a generous coat and let it dry before you apply another. The instructions will be able to tell you how many coats are needed to get the job done.
If you want to, you can also paint designs on the planter or change the colour to anything you like. Don’t forget to insert the planter box liner. You can do this by cutting the liner into a big square that fits inside the box. Staple the bottom in place and stab some holes directly above the drainage holes you created.
Once done, fold the corners over and staple them in place on the sides as well. If there’s any liner overlapping the rim of the planter, simply fold it over and staple it in place below the rim.
Congratulations! You now have a plywood planter to put to use.
FAQs
How do you waterproof a plywood planter box?
The best way to waterproof a plywood planter is to apply a generous amount of wood preservative along with using a liner. This way the wood is doubly protected against any moisture damage.

How do I keep my plywood planter from rotting?
The easiest way to prevent rot is to use a liner inside your planter box. The plastic will prevent moisture from coming in direct contact with the planter. This in turn will prolong the life of your planter box.
How long will plywood planter boxes last?
Plywood isn’t very long-lived. You’ll be lucky to have your planter box for more than a year or two. You can prolong this time by using planter box liners, however.

Save this pin for later


