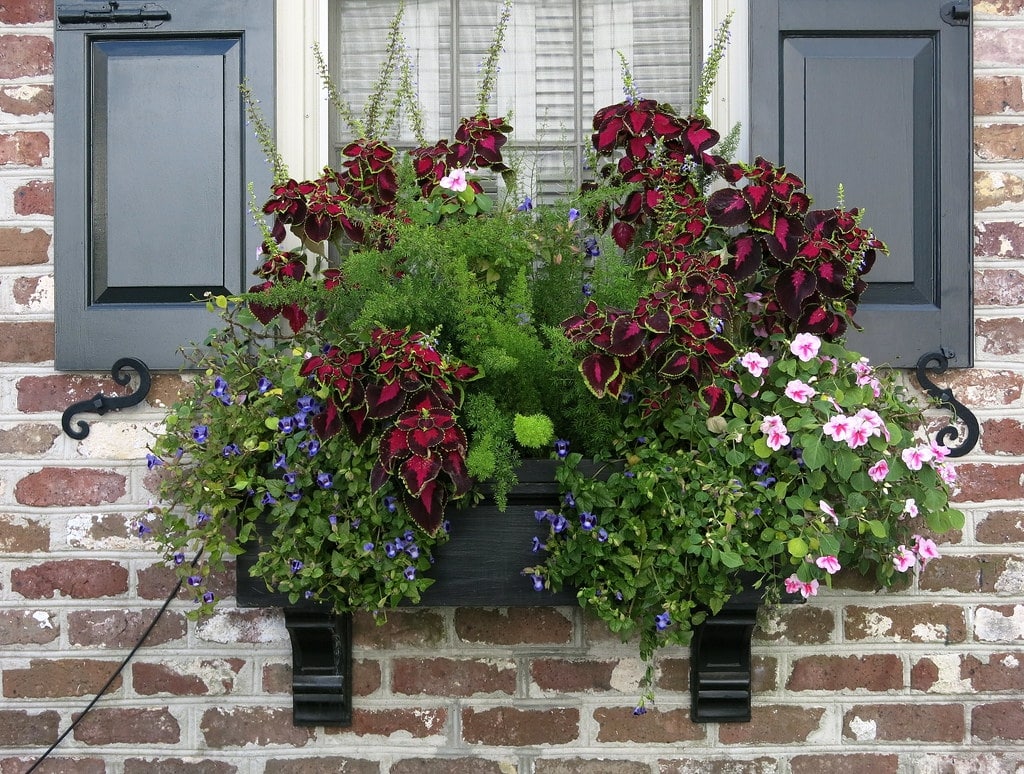
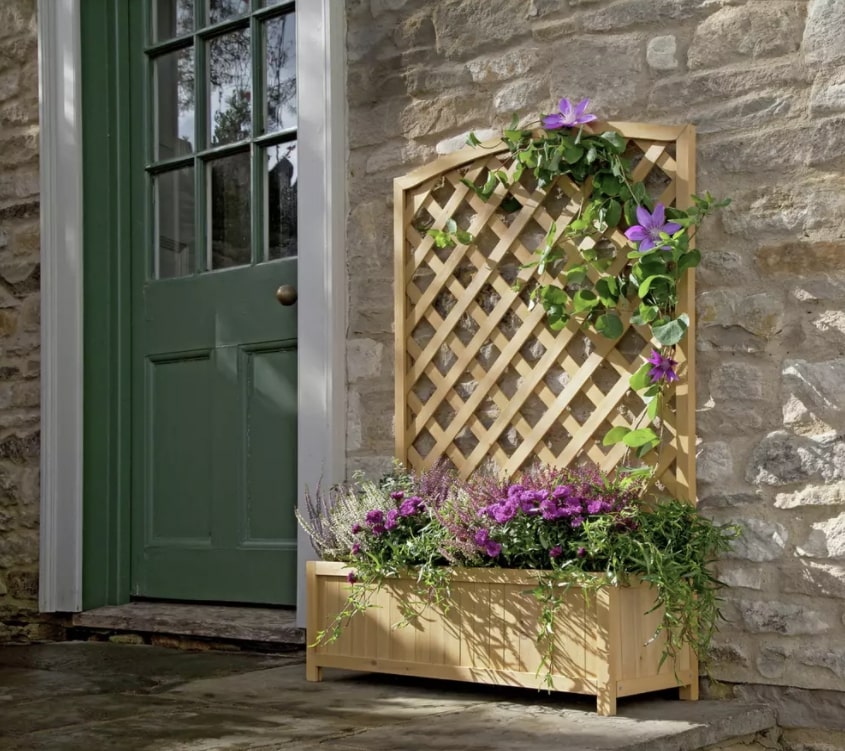
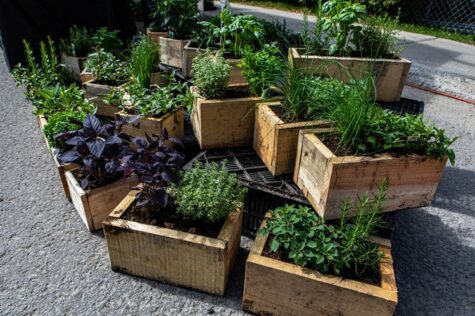
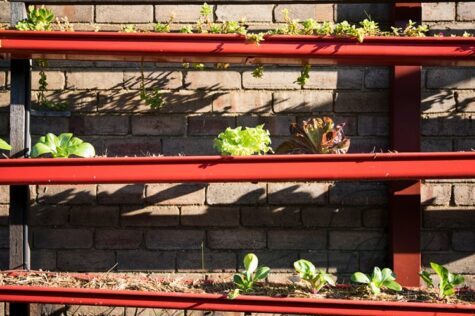
Wooden planter boxes are a great way to incorporate some greenery into your space. You don’t need a sweeping garden for them—an empty balcony or a wistful windowsill is enough. You can use them as a blooming calendar too. Think petunias in spring, bougainvillaeas in summer, dahlias in autumn, and cold-hardy alyssums in winter.
You can use cypress or cedar boards if you plan to make your own. Alternatively, you can turn a wicker basket, an old drawer, or even a scrap pallet into a creative planter box.
Read on for a step-by-step guide to making your own wooden planter box. We’ll also show you how to build a planter box the easy way and give you some tips on how to make your planter box more durable.

Build a custom wooden planter box to suit your space. Image credit: @_virtualgreg_
How to make a wooden planter box step by step
To make a planter box out of wood, first, gather all your tools. Then choose the wood you want to work with—teak, cedar, and cypress are some good options.
Next, size and cut the wooden boards and glue the pieces. You may also want to secure the joints with screws.
Once ready, add the finishing touches. Sand any rough edges, prime and paint the outside, or polish it. Finally, fill the planter box with potting soil and plant away.
Let’s take a closer look at each of these steps:
Step 1 – Gather all materials and tools
For your planter box, you’ll need a few basic tools and materials. These include:
- Wooden boards
- Measuring tape
- Saw, drill, and hammer
- Sander
- Glue, screws, and clamps
- Primer and paint/polish
Step 2 – Choose the wood
You want your wooden planter box to look classy while also being durable. Choose the wood wisely and make sure it’s resistant to rot and insects.
Cedar and redwood and widely available. They’re also lightweight and crack resistant. Cypress and teak are other options to consider.
Tip: Avoid softwoods like pine and spruce. These are vulnerable to decay.
Step 3 – Size and cut the boards
Once you’ve chosen the right wood for your planter, it’s time to size it. Choose how big (or small) you want it to be. If you’re unsure, think of where you’ll place the planter box.
You can then cut the boards using a saw. When finished, you should have four pieces for the sides and one for the bottom.
Step 4 – Attach the pieces
Time to assemble and glue the pieces. Begin by placing the bottom piece down. Apply strong wood glue around the edges and stick the sides to it.
Once assembled, secure the box with a clamp. While the glue dries, drill screws into all the joints for extra strength. You may also want to drill a drainage hole.
Step 5 – Sand any rough edges
Sanding will give your box a finished look and also save your gardening fingers from potential splinters in the future. Use a sander or sandpaper and run it along the outer surfaces of the box.
Step 6 – Prime, paint, or polish
Priming and painting your box will make it sun and rain-ready. You can choose the colour to match your backyard or home decor.
You can also polish your planter box to bring out the wood’s natural colour but this isn’t ideal if you plan to leave it outdoors.
Step 7 – Plant away
Time to add plants to your box. Before you begin planting, line the box with a plastic sheet to protect the wood. Then add a thin layer of gravel and fill the rest with potting soil.
You can plant seasonal flowers, perennials, seeds, and even vegetables and herbs in your box. Don’t forget to water and occasionally prune them.
Read more: What can I plant in a flower box?
How to build a planter box the easy way
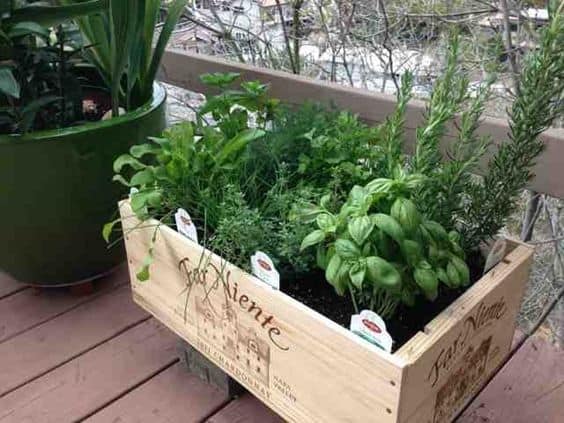
An easy way to make planter boxes is to repurpose old wooden containers. Anything from an old drawer to a wicker basket will do. Let’s see how.
Step 1 – Choose your box
Do you have any vintage drinks crates, useless drawers, wood baskets, or old toolboxes? Instead of throwing them away, you can repurpose them into attractive planter boxes.
Step 2 – Prepare the box
You may need to clean the container before you can use it. Scrape off any peeling paint, sand the surface, and remove any rusty nails.
Step 3 – Paint or stain it
To extend the life of your wooden container, you’ll have to prime and paint it. You can also use a wood stain for a rustic look.
Step 4 – Fill it with plants
Once ready, line the box, fill it with soil, and begin planting. Choose the plants according to the size of your box. You can fill it with flowering annuals, succulents, vines, and even herbs.

Turn an old, metal toolbox into an interesting planter. Image credit: @gothabillybaby
How to build a planter box out of wood that will last
Wooden planter boxes aren’t as durable as metal or plastic ones. But they can last for years, even decades, if they are cared for properly.
From selecting the right lumber to painting the surface, here are a few tips to make your wooden planter box last.
- Select the right wood for your project. Hardwood like teak, cedar, white oak, and redwood can resist the elements season after season. Avoid using softwood such as pine for outdoor use.
- Always line your wooden planter boxes with plastic. This will help prevent rotting and keep mould and mildew at bay.
- Make sure to prime and paint the planter boxes before using them. You can also use a plant-based sealant to make them water-resistant.
- If constant rains are your biggest concern, you can make a raised planter box. It will keep the wood away from the soggy ground and extend its life.

It’s easy to build your own wooden planter box. Image credit @louvincf
No space? No worries
A wooden planter box makes gardening possible even in small apartments. You can place it anywhere—on your balcony, along the railings or by the window.
You can use planter boxes to spruce up a boring corner of your house. Or make a small kitchen garden with vegetables and herbs.
What’s more, you don’t even have to buy one. You can make your own out of wood or repurpose old wooden containers into the perfect boxes for a plant.
Wooden planter boxes will fit gracefully into any nook of your house and bloom all year round. So, give them a try if you haven’t already.
Get more ideas: 12 balcony planter box ideas to inspire you

Save this pin for later

