Are you bored at home this weekend? Why not spice up your patio with some hanging planter boxes? This project might seem a bit daunting, but it is really quite easy to do. If you’re up for the challenge and would like to find out how to build a hanging planter box, keep reading.

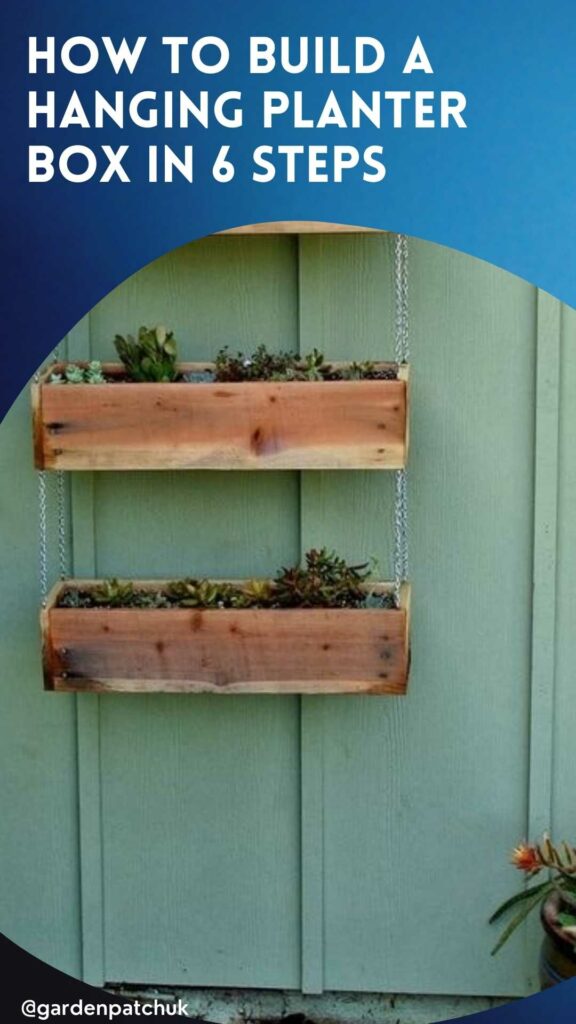
Succulent Tutorial – Tiered Hanging Planter Boxes by mcfarlanddesigns.blogspot.com
Getting started
Before you get too excited about making your planter box, make sure you have all the tools required. This isn’t a very expensive project, but it can be if you need to buy all the tools. To give you an idea of what you’ll need, take a look at the tools list below. Also, check out the supplies list to make sure you have everything else you need.
Tools
- Drill and drill bits
- Spade drill bit
- Saw
- Screwdriver
- L-square ruler
- Measuring tape
- Pencil
- Pliers
- Paintbrush
Supplies
- Chain ± 4.8 metres (16 ft)
- 6.5 metres (21 ft) of wooden planks (15 cm (6 in) wide and 2.54 cm (1 in) thick)
- 20 eye bolts
- 4 ceiling hooks
- 66 screws
- Wood glue
- Plastic liner
- Wood preservative
- Sandpaper
Now that you have everything you need, it’s time to start building a tiered hanging planter. Here’s how to do it.
How to build a hanging planter box

Strawberries will grow happily in a hanging planter. Credit: Shutterstock
Building a hanging planter box is fairly simple. The first part of the process is building the box unless you just buy one online or at your local garden centre. Make sure to choose a wooden box if you decide to skip the box building part of this project. It doesn’t need to be an actual box though, check out our hanging planter ideas for more inspiration.
If you don’t need to build a box, scroll down to the “Creating the tiers” section. Right, let’s get to it!
Building the planter boxes
Step 1: Cut the planks
Before you start cutting, make sure you have the ideal measurements. A good size for these boxes is around 61 cm (24 in) long. Measure out nine pieces that are 61 cm (24 in) long and six that are 12.7cm (5 in) long. Make a mark on the wood with your pencil to make sure you don’t forget where to cut.
Use the L-square to draw a straight line which you can use as a guide for cutting the wood correctly. Once done, secure the wood to your workbench and use your saw to cut it into the right sized pieces.
Step 2: Secure the sides
Start by securing a long plank to the long side of another. One plank will act as the bottom and the other as a side of the box. Drill holes on either end to fit screws. Before inserting the screws, add a little glue between the planks for extra security.
Insert the screws through the holes and use the screwdriver to secure them. You can add 2 more screws spaced evenly to make sure the bottom is properly secured to the side. Place the planks on the ground in a way that the screws are visible from the side.
Take a short side and secure it in the same way to the long side by placing some glue, drilling holes for a screw at each end and securing it in place. The short side will sit on top of the bottom plank. You will need to turn the whole thing upside down to secure the bottom to the short side with 3 more screws.
Secure the second long side to the short side and bottom of the box as you did with the first long side. Next, secure the last short side in place in the same way you did the first short side. Congratulations, your first planter box is now done.
Repeat the whole process two more times to finish the remaining planter boxes.
Step 3: Finish the planter boxes
For this step, use sandpaper to round off all the edges of your planter boxes, creating a smooth finish. Use the spade bit to drill at least three evenly spaced drainage holes in the bottom of each planter box.
Once done, make sure all the dust is removed and use a paintbrush to apply some wood preservative. Allow the coat of wood preservative to dry before applying another coat. It is advisable to apply at least 3 coats to protect the wood against water damage.
Take the plastic liners and fit them inside the boxes. Make the necessary cuts to make sure they fit snugly without allowing water to come into direct contact with the wood. Place some glue to keep them in place if you like.
Congratulations, the first part of this project is done!
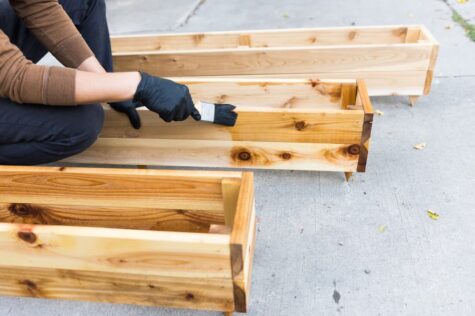
Apply 3 coats of wood preservative to protect your hanging planter boxes. Credit: Shutterstock
Creating the tiers
If you’re creating a tiered hanging planter, or if you want to hang just one box, you will need the following:
- Drill and drill bits
- Screwdriver
- Pencil
- Pliers
- Chain ± 4.8 metres (16 ft)
- 20 eye bolts
- 4 ceiling hooks
- Measuring tape
Step 1: Secure the eye bolts
To start off, you’ll need to drill all the holes where your eye bolts need to go. Use a drill bit that’s slightly smaller than the eye bolts to make sure they sit securely. If you’re worried, use your pencil to mark where all the bolts need to go.
You will be placing bolts on all four top corners of the boxes as well as on the bottom of two of the boxes if you’re making a tiered planter. Once done, there should be 20 holes in total with two boxes that have eye bolts on the bottom and the top and one box that only has four bolts on top.
Now you can take your eye bolts and screw them in. If it gets a bit difficult, use the screwdriver placed through the eye of the bolt to give you a bit more strength. Repeat the procedure until all the bolts are screwed in and line up nicely with the long edge of your box.
You can now go ahead and fill your boxes with soil and start planting. Just a quick tip, cover your drainage holes with coffee filter paper to prevent soil from washing out. If you’re on your own, delay the planting until after your boxes are hung up, they become quite heavy when filled.
Step 2: Connect the chains
You will now need to figure out how long you want your chains to be. The ideal chain length for this particular project is between 23 to 25 cm (9-10 in), but you can make them shorter or longer as you please.
The easiest way to get the chains to be the same length is to count the links. Once you’re happy with the length of the chain, use the pliers to open the link to separate the piece of chain you measured. You should end up with 8 pieces of chain that are the same length.
Since you have the link of the chain open, place it through the eye of the bolts you screwed in before closing the link again. This way, you’ll be attaching the chains as you measure them.
Start by attaching the chains to the box that only has 4 bolts on top first. You can then choose which of the two remaining boxes you want to go on top of that box and attach the other end of the chains to the bolts on the bottom of your chosen box. You will again need to open a link to achieve this.
Repeat the process with the 4 remaining chains. All your boxes should now be linked together, with the top box still having 4 unused eye bolts.

Use chains to suspend your finished planter boxes. Image credit: Shutterstock
Step 3: Attach the ceiling hooks
Use the measuring tape to make sure the ceiling hooks will be spaced the same as the eye-bolts on your top box. Make a little mark on the ceiling with your pencil to make sure you know where to drill.
Create a pilot hole and screw in the ceiling hooks. Make sure they are secure since you’ll be placing a lot of weight on them.
Now you can decide how low you want your first box to hang. Measure out the remaining chain into 4 equal pieces, open a link to separate them and attach them to the top box.
Make sure to form a hook from the link that will go into the ceiling hooks for easy future removal. Hook the open link over the ceiling hook and step back to admire your work.
Congratulations on creating and installing your new tiered hanging planter boxes!
FAQs
How deep should I make my hanging planter box?
Aim to make your planter box between 15 to 20cm (6-8 in) deep. This depth allows for ample root growth while preventing your boxes from becoming too heavy to hang.
What wood is best for a hanging planter box?
A wood that is naturally rot-resistant like cedar will work best. A cedar planter box won’t warp or rot when it comes in contact with water which in this case, will be a lot.
Why do my planter boxes need drainage holes?
Drainage holes prevent your plants from drowning and developing root rot. Plants don’t usually like to stand in soggy soil for long periods of time. The roots, just like the rest of the plant, also needs air to stay healthy.
Save this pin for later


