Did you finally get your long-awaited metal gazebo? Congratulations, now it’s time to set your gazebo up.
Assembling a steel gazebo may seem like a massive job and be a little overwhelming, but don’t panic. Everything will be explained one step at a time making the whole process a little more manageable.
Let’s take a look at how to assemble a metal gazebo.

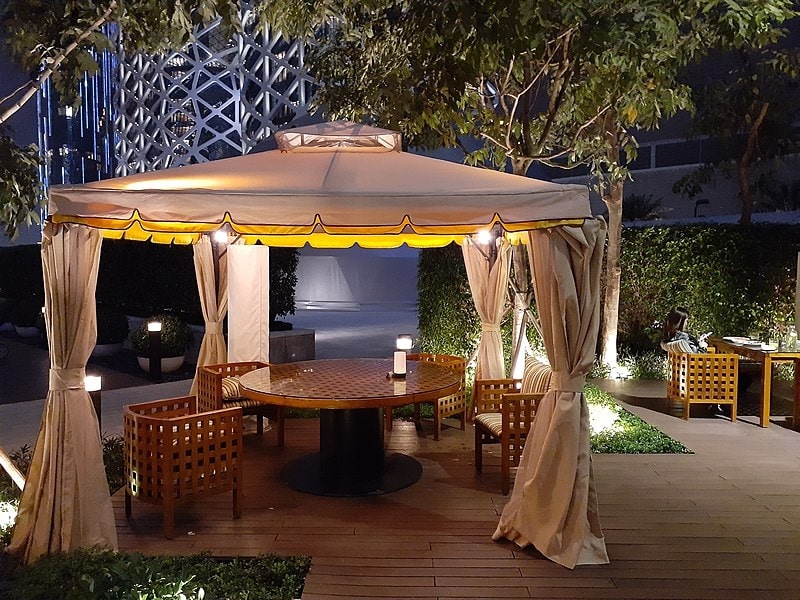
By JAOEMAI skquadweb – Own work, CC BY-SA 4.0, via Wikimedia Commons
How to assemble a 10 x 10 metal gazebo canopy
Assembling a metal gazebo is definitely tricker than putting up a pop-up gazebo. For this reason, we’ve broken it into small steps to make the whole process less confusing:
Step 1: Make sure you have all the required gazebo parts
The easiest way to do this is to look at the instruction manual. It should tell you exactly how many parts should be present. To make counting easier, you can make little stacks of poles, beams and other items that look the same.
If you don’t have a manual, the easiest way to figure out if all parts are present is to pack out the form of the gazebo on a flat surface. This way you should be able to tell if all the poles and beams are present. You’ll find out if any bolts are missing as you go along with the assembly.
Step 2: Pack out the form of the gazebo
If you didn’t do this in step one, it is now time to see where all the parts go. The easiest way to do this is to pack all the parts in the places they will be once assembled. You don’t have to attach them to each other yet, at this point you’re just getting a feel of what goes where.
Start by placing the upper canopy hub on the ground first. Find all the short poles that attach to it and place them in order so your poles and hub make a flat ‘X’ on the ground.
Now find the lower canopy hub and place it in a separate location on the ground. Find all the short poles that attach to them and place them where they belong. Now you can find the extensions of these poles and place them in order as well. You should now have a large ‘X’ on the ground.
The next step is to find all the poles that form the sides of your gazebo canopy. You should end up with a square with an ‘X’ inside it.
Now all you have to do is find the legs and place them at each corner of the square you just created. You should now have a 2D version of your metal gazebo frame.
Step 3: Start assembling the upper canopy
Since you already packed out the form, this step should be simple. Simply insert the short canopy spokes into the upper canopy hub. There will most likely be a little metal ball, called a snap button, that you need to press in to allow the spoke to slide into the hub.
Once the spoke is in, rotate it until you hear a click when the snap button clips into place to secure the spoke. Repeat this action with all the other spokes to secure them in place.
Now you can take the upper canopy cover and pull it over the frame you just created. Once in place, you can secure it with the top finial on the upper canopy hub. Set aside for later use.
Step 4: Assemble the lower canopy
Just like with the upper canopy, you will need to start with attaching the spokes onto the lower canopy hub. These spokes will also have a snap button so remember to press it in when inserting the spoke and rotate it until it snaps into place with a click.
Once the first four spokes are in place, you can attach their second part if they have one. If it’s one long pole, you can move on to putting on the cover.
Throw the cover over the whole structure you just created. Make sure the hole in the middle fits over the attachments for the upper canopy. Rotate the lower canopy cover until the spokes line up with the seams. Don’t secure it in place just yet.
Take the upper canopy that you just assembled and clip it into place on top of the lower canopy. Make sure the snap buttons click into place. Tie any loose strings of the upper canopy cover onto the strings provided by the lower canopy cover to secure the whole thing in place. Leave the whole structure as is and move on to the legs.
Step 5: Assemble the legs of the gazebo
Start by securing the two sides of the leg together. You will need bolts and nuts to achieve this goal. Simply line up the holes already in place on the sides and secure the panels together with bolts and nuts. If done correctly they will form a triangle with one open side.
Once the two sides of the leg are in place you can secure the coroner connectors on top. You will need more bolts and nuts to achieve this. Let the leg stand up on its own and move on to do the same to the three remaining legs.
Step 6: Attach the beams
If you’re working alone, this step might be easier with the legs lying down. If you’re working with a friend, you can manage with them standing up.
Simply take a support beam and line up the holes where the bolts need to go. Secure it in place. Do the same on the other side. You should now have two legs held together with a beam. Stand them up.
Do the same with the two remaining feet on the ground. Line them up with the standing legs. Now you can take a support beam and attach it to one pair of legs by also lightning up the holes. Once done move along the beam and attach it to the other pair of legs. Take the last beam and do the same. You should now have two structures. One is the complete canopy and the other the frame with the legs.
You will need help with this last step. Lift the canopy up and onto the rest of the frame. Secure the spokes to the corner connectors. Do be careful, the canopy can be quite heavy. Once everything is secured all around, you can pull down the canopy cover and secure it in place with the straps provided.
If the gazebo is in the right location, you can now secure it. If not, you’ll have to move it and then secure it. Once it’s in place and secured, you can attach the side walls if you like. The side walls simply clip onto the support beams and can be closed or opened. You can also attach the corner shelves on the legs, but this isn’t required. It does lend some support, however.
The last thing you’ll need to do is enjoy your gazebo.
FAQs
How long does it take to assemble a metal gazebo?
It can take anything from 20 minutes to one hour to assemble a metal gazebo. It all depends on the size of the gazebo, how complicated the structure is and how much help you have.
Are gazebos worth it?
Gazebos can add value to your home. If you build a wooden or metal gazebo on your property, they are considered permanent structures which can count in your favour in the long run. Just make sure you’re allowed to build them.
You Might Also Like: Garden Gazebo Ideas: Making The Most Of Your Outdoor Space
Is a gazebo a permanent structure?
It depends on the kind of gazebo you want to have. Pop up and other light gazebos are always temporary gazebos. Wooden or lean-to gazebos are more likely to be permanent structures.

Save this pin for later


