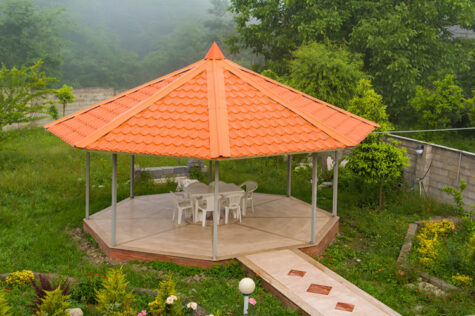
Did you finally get that pop-up gazebo you’ve always wanted? You probably can’t wait to set it up for the first time. Fortunately, setting up a pop-up gazebo is very simple. Let’s get this ball rolling and show you how to put your gazebo up.

Pop-up gazebos are perfect when you need quick shade. Credit: Shutterstock
How to erect a pop-up gazebo
Setting up a pop-up gazebo is very simple. To make things even easier to understand, let’s break down the instructions into simple stamps. Ready to get started? Let’s do this.
Step 1: Unpack the gazebo
The first step to this exciting venture is to unpack your new gazebo. This step is the easiest since you really only have to take it out of its bag and place the bag somewhere it won’t blow away while you’re busy.
Step 2: Unfold the gazebo
Now that the gazebo is free of its bag, place it upright so the feet are all on the ground. If you’re two or more people, simply grab a corner each and take small steps backwards away from each other to unfold the gazebo. If you’re on your own, you will need to alternate between corners and gently pull them outwards until almost fully extended.
Now is your chance to secure the canopy cover to the frame. Simply drag it over the frame and pull down 3 of the 4 corners over the frame.
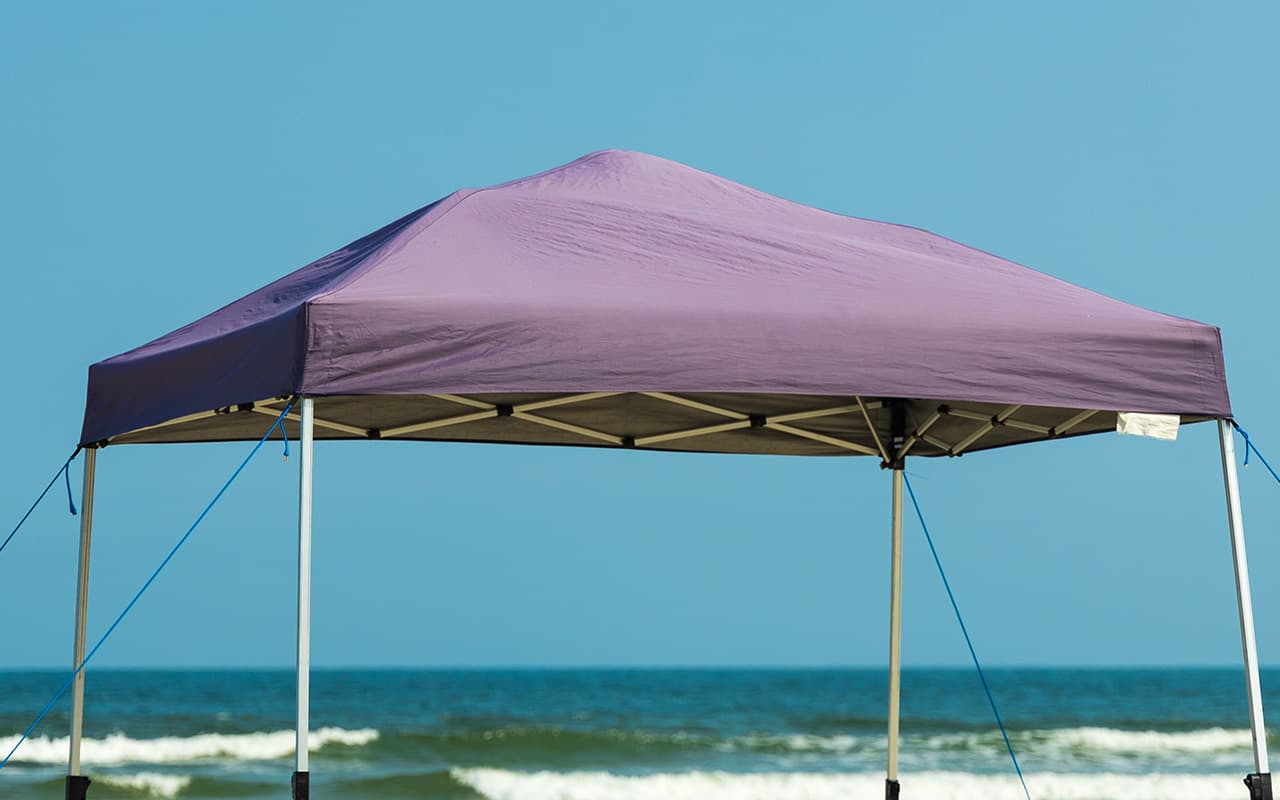
Once the corners are extended enough you’ll be able to secure the canopy over the frame.
This should give you some slack to work with when fully extending the frame.
Step 3: Fully extend the diamond grid
Once the gazebo frame is extended, push the diamond grid until it is fully extended. Make sure not to pinch yourself since the space between the spokes becomes almost non-existent.
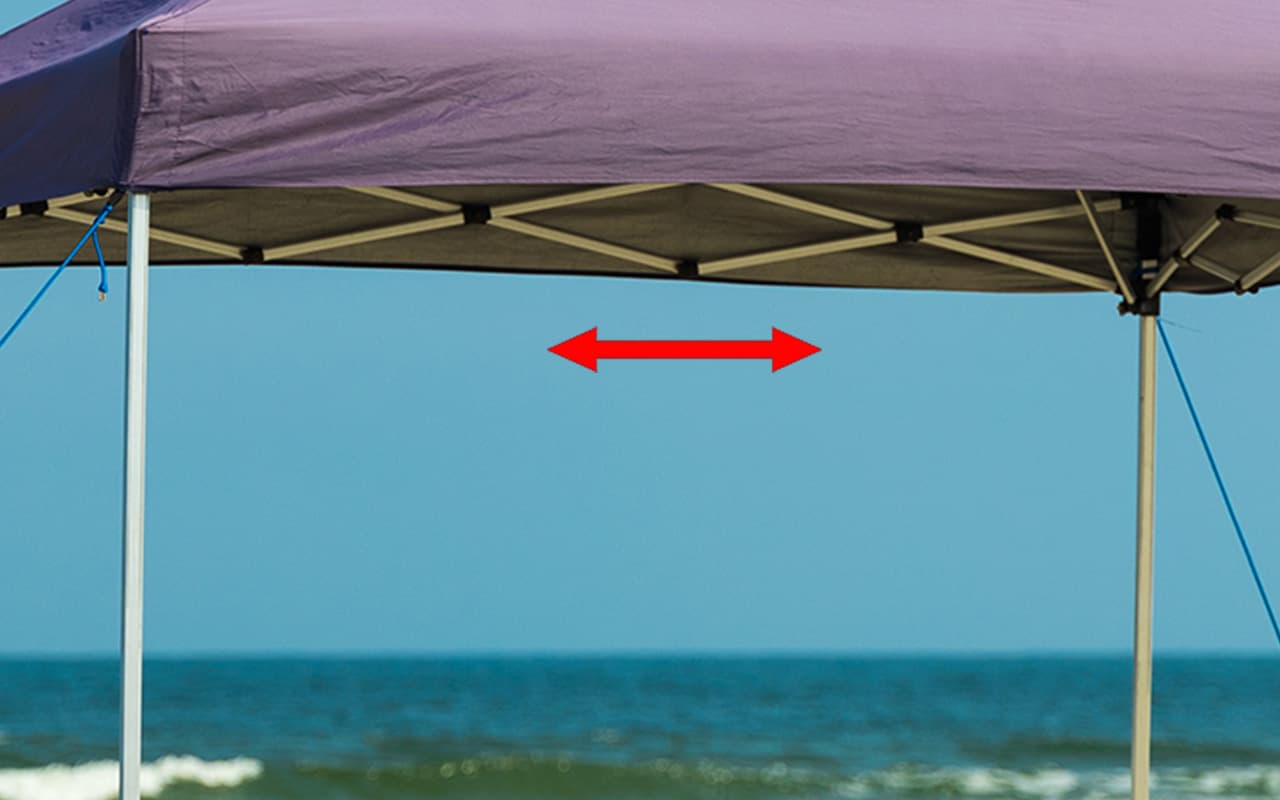
This diamond structure must be extended as much as possible.
Do this for every side until all the diamond grid is fully extended and secure.
Step 4: Extend the legs
To extend the legs, you will first need to slide the gazebo slider brackets into place. To do this, simply hold the leg while pushing the rest of the frame upwards until the snap button clicks into place. Do this with all four feet.
Once secure, slide the last corner of the cover into place and secure all the velcro straps on the inside of the canopy to keep it in place.
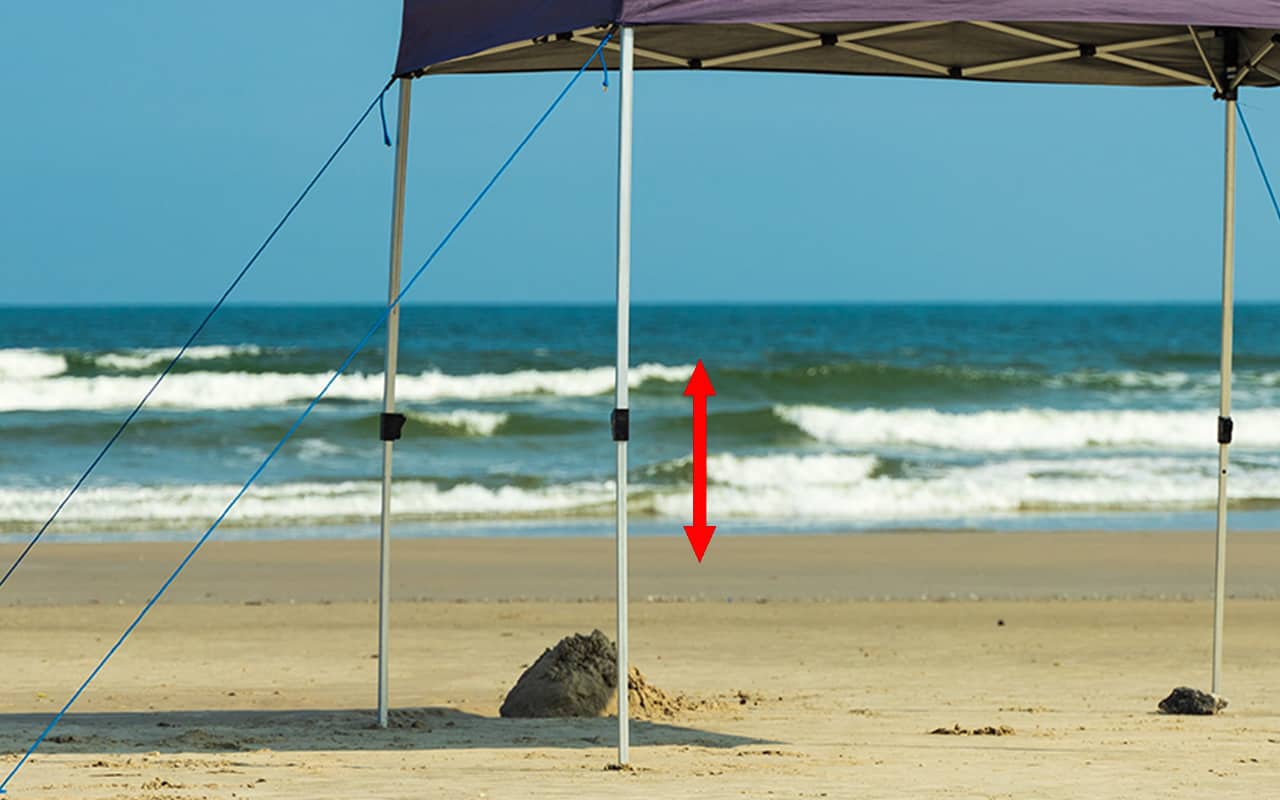
The legs need to be fully extended.
Once all the slider brackets are in place, step on the foot of the gazebo and again push the rest of the frame upwards. This should cause the pole of the leg to extend. Don’t stop until you hear a resounding click. Repeat until all four feet are extended. Make sure the canopy cover is properly secured and that all the velcro straps are in place.
Step 5: Secure the gazebo
This step is very important. Securing your gazebo will protect it against wind damage as well as make it safe for anyone in the area.
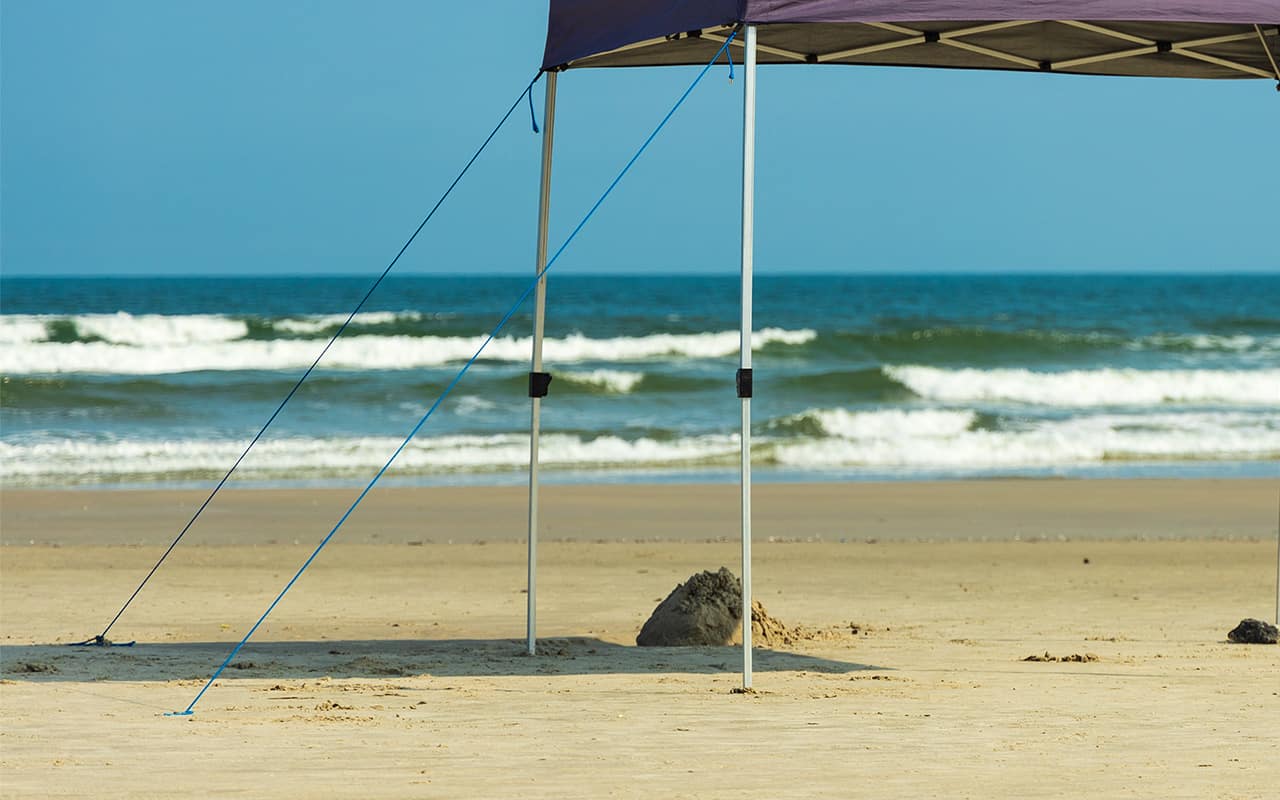
Tent pegs and rope is the easiest way to secure a gazebo.
Unsecured gazebos can cause injuries and property damage if the wind decides to come out and play. To avoid these disasters either use sandbags, gazebo weights, large potted plants, polypropylene straps or rope and tent pegs to secure it in place. A combination of these securing techniques usually works best.
FAQs
Are pop-up gazebos easy to put up?
Pop up gazebos are very easy to put up with little to no effort. You can do it alone or with the help of a friend. It should take less than 10 minutes from start to finish and be even faster if a friend helps you.
Can you put a pop-up gazebo on a patio?
Definitely. Pop up gazebos can be placed anywhere as long as they are secured properly.
Can you leave a pop-up gazebo up?
No. Pop up gazebos should never be left up overnight. They are quite fragile and might break or blow away if a storm blows through.

Save this pin for later


