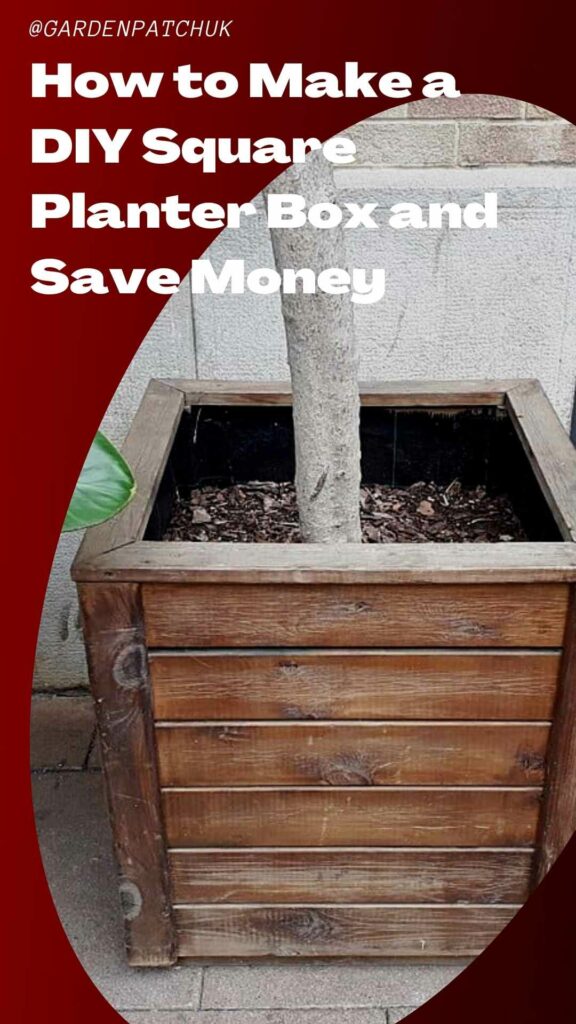
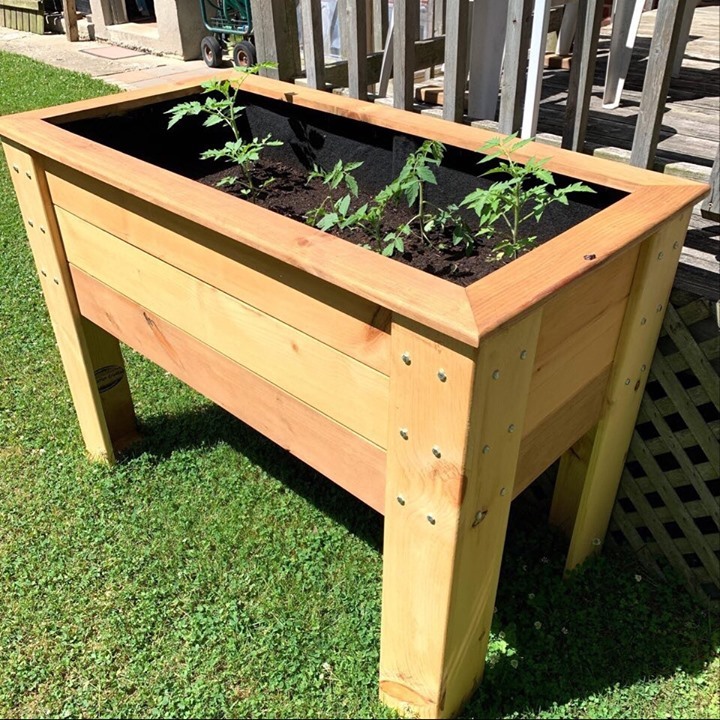
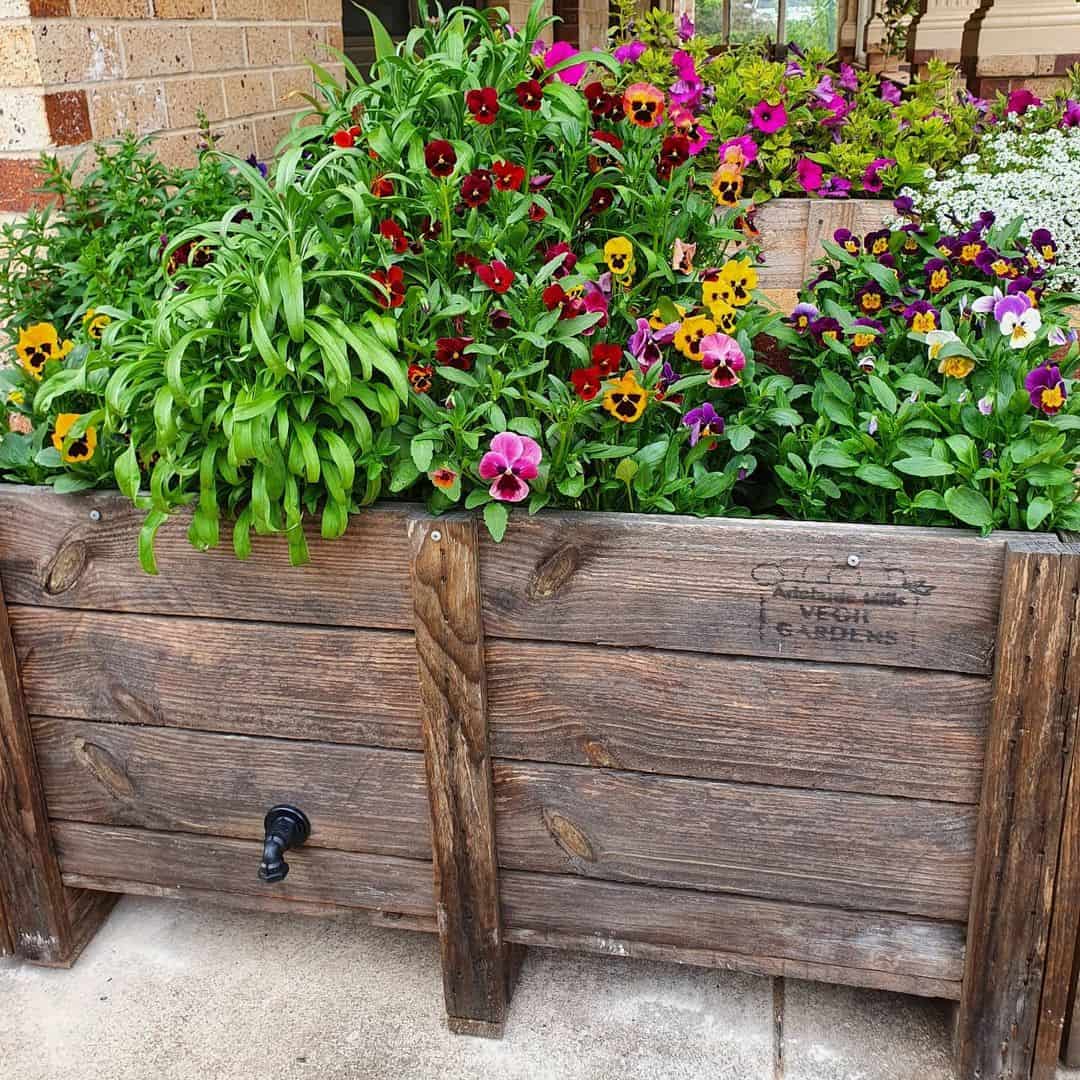
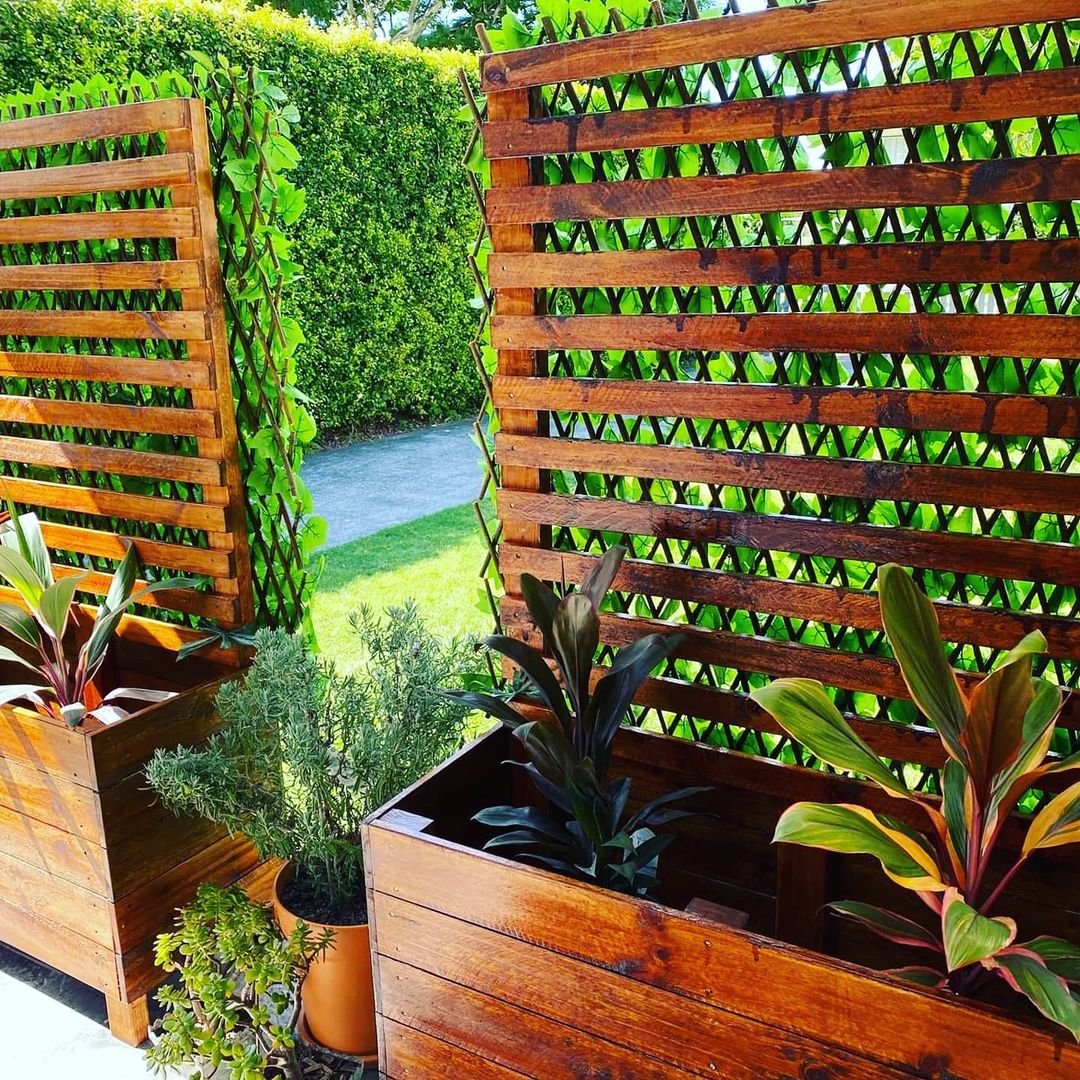
Thinking of adding a new planter to your collection? Why not try making a square wooden planter box? They are quite easy to build if you’re thinking of doing it yourself.
Here’s all you need to know to build a square planter box.

Credit: By Fructibus, CC0, via Wikimedia Commons
How to build a square planter box
Before you can build a square planter, you’ll need some tools and supplies. Take a look at the list below to get you started:
Tools:
- Saw
- Drill
- Screwdriver drill bit
- L-square
- Measuring tape
- Paintbrush
- Sander
- Safety glasses
- Face mask
- Ear protection
Supplies:
- Screws
- Wood glue
- Wood preservative
- Four 2x4x8 cedar planks
- 1.6 metre 2×2’s
Method:
Once you’ve got all your supplies and dusted off your tools, you’re ready to get started. Here’s what you need to do:
Step 1: Start with measurements
Building a planter always starts with taking measurements. You will need to get out a measuring tape, chalk or a pencil as well as the wooden planks.

For this planter, all the sides need to be the same length. In this case, we’ll be creating a planter that is 40cm wide on all sides and 40cm deep. You will also need to measure out 4 small pieces of wood to make up the legs.
In case you’re a bit confused, measure out 19 pieces of wood that are 40cm long and 4 pieces that are 10cm long. The 19 pieces will make up the sides and bottom of your planter while the 4 short pieces function as legs to keep the planter off the ground.
You will also need to cut the 2×2’s into four 40cm pieces. These will be used to secure the box together.
Step 2: Prepare the wood
You will require an L-square, saw and a sturdy workbench to complete this step. Clamp the plank you’re planning to work on to the workbench. Use the L-square to draw a straight line where you need to make cuts.
Once everything is ready, grab the saw and start cutting the plank on the lines you’ve drawn. Make sure not to drop it on your foot once the pieces separate. Repeat this action until you’ve cut all the pieces of wood into the required sizes.
Step 3: Assemble the square planter
To assemble your planter you’ll need wood glue, screws, a drill and the necessary drill bits. Start by placing two of the blanks at a 90-degree angle to each other. Use a little glue on the side that will touch and press them together.
Use two screws to secure the planks together. You’ll need the screwdriver drill bit and drill to help with this. Once done, make sure to wipe away any excess glue.
Turn the structure in a clockwise direction and repeat the same procedure. Make sure to always follow the same pattern to make sure you’ll end up with a square planter in the end. Every time you’ve finished a corner, rotate the structure and attach the next plank until the first square is complete.
Do this four more times until you end up with 4 separate squares.
Step 4: Stack the sidewalls
Now you will need the 4 2×2’s as well as glue, screws and the drill. Start by placing one of the 2×2’s in the corner of the first square. Place some glue where they make contact and secure the 2×2 in place with screws. Repeat this until all four 2×2’s are secured to the first square frame.
You can now fit the second square over the 2×2’s and slide it into place on top of the first square. Make sure to place some glue in between the square and the 2×2. Screw it in place and repeat until all the frames are secured in place.
Step 5: Fit the bottom and legs
Take one of the remaining planks and place some glue on the sides where it will make contact with the rest of your frame. Place it on top of the open side of the frame and align it with the sides. Screw it in place to secure it.
Do the same with the plank all the way over on the opposite side of the first. Lastly, you can place the last plank in the middle of the first two. Line it up in such a way that you leave an equal sized gap on both sides of the plank. This gap will help with drainage.
Once the bottom is secured, you can grab the four 10 cm pieces. Place a little glue on the end and screw it in place. You will need to use a 45° angle to get the screw through both planks. Repeat until all the legs are secured in place.
Your planter box is almost ready.
Step 6: Finishing touches
To finish this project, you will need to make sure the wood is treated to withstand moisture. To do this, get out your sander, paintbrush and wood preservative.
First, use the sander to smooth over any rough edges and remove splinters. You can also round off all the edges to create a smooth finish. Once done, start applying wood preservative.
Use a paintbrush and paint on a thick coat of preservatives. Make sure to cover every single part of the planter box inside and out. Let the first coat dry according to the instructions on the can before applying the second coat.

Credit: Shutterstock
Congratulations, your planter can now be prepared for planting!
FAQs
Is it more cost-effective to build your own planter box?
Usually building your own planter box is much more cost-effective than buying one. You’ll only need to pay for the materials and can avoid the added cost of the labour involved.
Should I line my wooden planter?
Yes, your wooden planter will last much longer when protected from excess moisture by a liner. Wood that is continuously exposed to moisture will eventually rot. Using liners prevents this from happening prematurely.
Are pots without drainage holes bad?
Yes and no. If you have a pot without holes, you’ll need to use a solid plastic container as a liner. When watering your plants, take the whole container out and allow water to run off before placing it back into the pot without holes. If you don’t have an inner pot, make sure to water very sparingly. Overwatering without drainage holes can kill your plants.

Save this pin for later


