Do you tend to forget to water your plants or would you just like to go away for a few days? Don’t worry, self-watering planter boxes are there to help you out. Buying a self-watering planter can be expensive, but don’t fret, you can make your own DIY watering system at home.
Self-watering planters are designed to make life easier for all plant lovers, here’s how they work.
What is a self-watering planter?
Self-watering planters contain an inbuilt system that allows your plants access to water over a period of time without drowning them. These types of planters are very handy, whether you have a large operation or are just off for a long weekend away.
Self-watering planters work with a pipe system that is filled up with water. It is quite simple to make your own DIY watering system for planters that don’t have one.

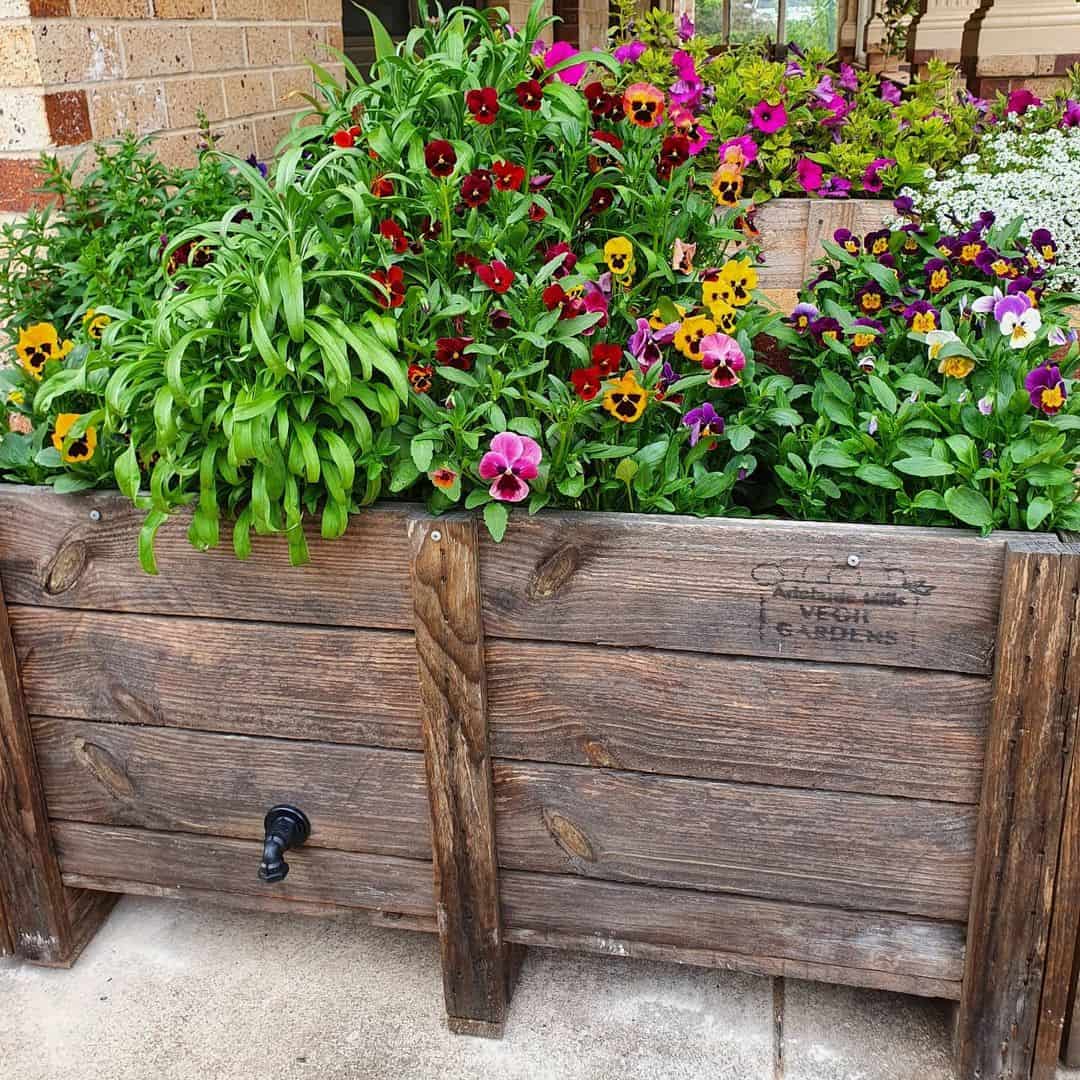
Keep your plants looking lush all summer long with a self-watering system. Image credit: @adelaidehillsvegiegardens
How to Build a DIY self-watering planter box
If you don’t have a planter box, you can buy one or make one yourself. There are lots of articles on this website that explain how to build different kinds of planter boxes. Simply find the plans you like and start building.
- How to Build a Simple Stone Planter Box
- How to Build a Planter Box Out of Wood
- How to Make a Pallet Planter Box
- How to Build a Window Planter Box and What to Plant in it
- How to Make a Gutter Planter Box (with Ideas)
Once you have a planter box, you can address the self-watering system. Here’s what you’ll need for this project:
Tools:
- Carpenter stapler
- Tape measure
- Utility knife
- Drill and spade drill bit
Supplies:
- Wood glue
- Corrugated perforated drain pipe
- 2 PVC pipes
- ¾ inch flexible tube
- Plastic liner
- Duct tape
Building a self watering planter:
Once you have all the supplies and tools ready, take the following steps to set up your self-watering system:
Step 1: Line the planter
To line your planter, get out your carpenter stapler and plastic lining. The liner will protect your planter against excess moisture which in turn prolongs the durability of the planter. This is possible due to the liner slowing down the rotting process since contact with moisture is limited.
Use a measuring tape to measure the inside of the planter and then the plastic liner. This will help you to figure out how big the liner needs to be. Make neat cuts in the liner once you’re happy with the measurements.
Place some glue on the inside of the planter to help secure the liner in place. Once done, place the liner in the box and smooth out all the creases. Staple it in place once you’re happy with it.
You will end up with four flaps in the corners, simply fold them sideways and secure them nicely against the side of the box with some staples. For the last step, fold over the top edges to neaten the liner and staple it in place.
Step 2: Add the drainpipe
It is very important to make sure the drainpipe will sit quite tight inside the planter. To get this right, stretch out and cut the drainpipe to a length equal to the length of the inside of the planter. Make sure to cut enough pieces to cover almost the whole bottom of the planter. You can leave a few tiny spaces between the pipes.
Once you’ve cut the pipes, use a piece of landscape fabric and some duct tape to cover both ends of the drainpipe. Repeat until all the open ends of the drainpipes are covered. Lay the pipes side by side in the planter before moving on to the next step.
Step 3: Add the inlet pipe
The PVC pipes you gathered will serve as the inlet pipe. Take one of the PVC pipes and cut one end so that it forms a sharp point. With the utility knife, cut a small slit in the drainpipe closest to one of the corners.
This cut should be just large enough to allow the PVC pipe to fit in it. The fit will be quite tight and you might need to force the PVC pipe into the drainpipe. If the fit is too loose, secure the PVC pipe and drainpipe together with duct tape

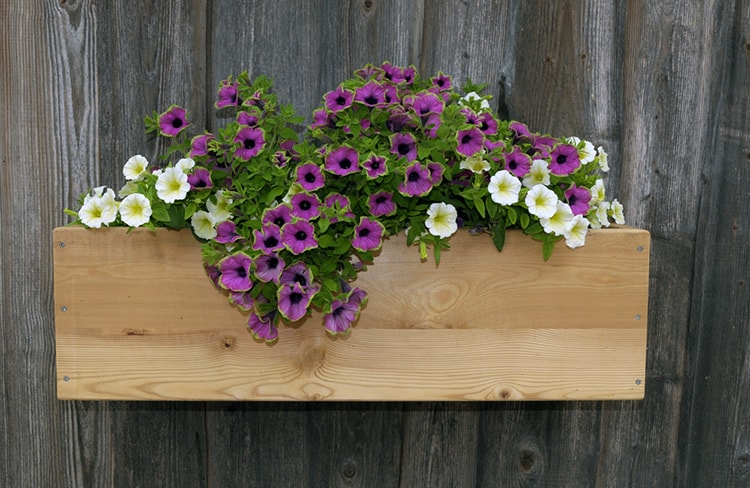
You can fit self-watering systems into any planter. Image credit: @learngrowedseries
Step 4: Add an overflow drain
In the corner opposite the one with the inlet pipe, drill a hole large enough to fit the flexible ¾ inch hose. You will need to make a small cut in the liner and into the drainpipe to fit the hose through.
You can create a seal around the drainpipe and hose with duct tape. This will prevent any water from leaking out.
Step 5: Add the base potting mix
It is best to create a mixture of vermiculite and peat moss in a ratio of 2:1 to fill the bottom of your planter. Make sure it goes between the drain pipes and covers completely. This mixture will help with drainage while still retaining some water.
Over the base mixture, you can add regular potting soil of your choice. In this soil, you can grow any plants you want.

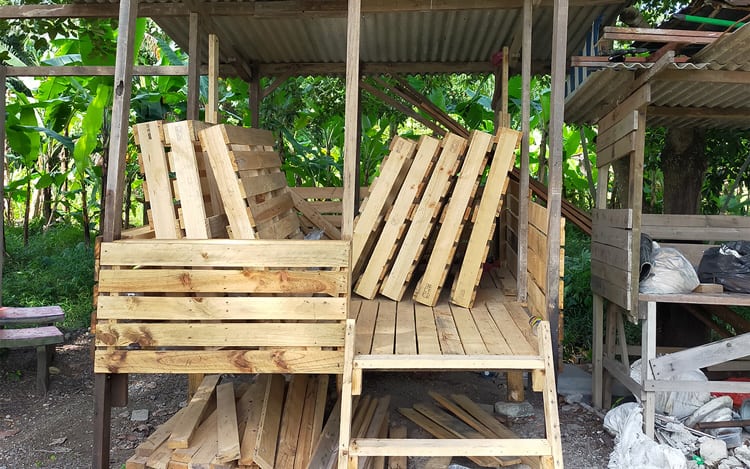
Vermiculite will absorb water and help to keep the watering system working. Image credit: @dergenialegemuesegarten
How does it work?
Once you’ve finished, you will need to fill up the self-watering system. To do this, simply take a hose pipe and allow water to run into the inlet pipe. It will take around 6 or 7 minutes to fill up the whole system. You know it’s ready once the water starts to run out of the overflow pipe.
Now you might be wondering how exactly this system works since the pipes aren’t connected? It’s really quite simple. You will be filling up the first pipe directly since it’s connected to the inlet. From there the water will drain out of the covered end spilling over into the space filled by the vermiculite mixture.
Once the vermiculite has absorbed as much water as it can hold, the extra water will start to seep into the rest of the pipes filling them up in the process. Once your system reaches capacity and simply can’t hold any more water, the water will start to flow out of the overflow drain. This is how you know the system is saturated.
The time between refilling the system will depend on the type of plants as well as the location of your planter. Some plants are more thirsty and will drain the system faster. Planters placed in the sun will also drain more quickly due to evaporation.
As the water disappears from the vermiculite mixture, water from the pipes will slowly drain out and be reabsorbed by the vermiculite. This is how the system keeps going and keeps your plants moist even without daily watering.
FAQs
Do self-watering raised beds work?
Definitely. Self-watering raised beds deliver water directly to the roots of your plants. This allows them moisture even on the hottest of days when you’re off on a long weekend trip. Self-watering raised beds are very handy if you don’t have the time to water your garden every day or even several times a day depending on the season.
How does a self-watering planter box work?
Self-watering planter boxes deliver water directly to the roots of your plants without drowning them. The water gets stored in the vermiculite and drainpipes at the bottom of your planter. As the water gets absorbed or evaporates, new water will drain out of the pipes to replace the lost moisture. This will sustain your plants for a few days without any watering from you.
Do you need to put rocks at the bottom of a self-watering planter?
No, self-watering planters don’t need the rocks. The drainpipes function as a storage unit keeping excess moisture away from your plants. This will prevent them from drowning and developing root rot while still allowing sufficient moisture for growth.

Save this pin for later


