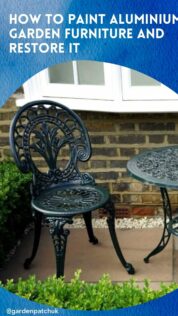
Aluminium garden furniture has become very popular in recent years due to it being so lightweight and yet durable at the same time. If you have some old aluminium furniture lying around, it might be time to give it a makeover to match your stunning garden aesthetics.
Here’s how to repaint aluminium garden furniture and give it a new lease of life.

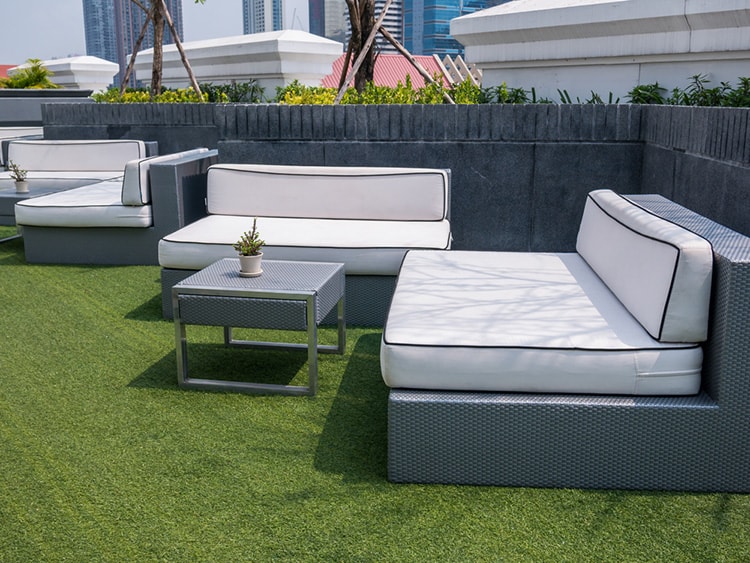
Restore your aluminium garden furniture to its former glory with a lick of paint. Credit: Shutterstock
6 steps to repainting old aluminium garden furniture
Stripping the paint off your old garden furniture and redoing a new coat can be a very fun project.
Before you get started, however, make sure you have everything you need. If you’re not sure where to start, look at our supplies list to find what you need to get the job done:
Supplies List
Here are a few things you can’t do without when repainting your old aluminium furniture:
- Hose
- Hose nozzle
- Paint
- Acid-based primer specifically made to paint aluminium
- Paintbrush
- Metal brush
- Sandpaper
- Paint remover
- Newspaper
- Bucket
- Turpentine
- Old towels
- Rust converter
- Putty knife
- Gloves, safety glasses and a mask (if you’ll be using spray paint or harsh chemicals)
Now that you have everything you need, you’re ready to start your project.
Step 1: Safety
This step is the most important. Make sure to wear all your protective gear when working with chemicals. These chemicals can cause serious damage that could be permanent. Nobody wants that risk. Put on your gloves, mask and safety glasses before you start to cover all the bases.

Always wear protective gear when working with hazardous chemicals. Credit: Shutterstock
Step 2: Clean the furniture
This definitely won’t come as a surprise, but the new paint you’re trying to apply, won’t stick to dirty, dusty furniture. The dust particles and other dirt on your furniture will also interfere with how effective your paint stripper is. For the best results make sure your furniture is clean.
You can clean your furniture by using a hosepipe and nozzle set to the highest pressure and hosing down your furniture. This method should successfully remove any loose dirt and spiderwebs. If your furniture is still dirty, use a cloth and a bucket with soapy water to wash away any remaining dirt. Make sure to hose away any soap when you’re done.
Now you can either let your furniture dry in the sun or use an old clean towel to dry any remaining water.
Step 3: Apply the paint remover
Now comes the first fun part of your project, applying the paint remover. To do this, use a paintbrush. Dip your paintbrush into the paint remover and apply a generous amount all over your painted furniture.
Once done, you will need to let it dry for around 30 minutes. You will notice the old paint start to wrinkle and pull away from the metal underneath. This is how you know the paint remover has kicked in.
When around 20 to 30 minutes have passed and the paint is mostly wrinkled all over, you can simply use a putty knife and a metal brush to remove the paint. If any stubborn paint remains, apply the paint remover again and follow the same process. If that doesn’t seem to work, use some sandpaper to remove the remaining paint.
Step 4: Prepare the surface
Once all the paint is removed, it’s time to prepare the surface. If there’s any rust, sand it vigorously with sandpaper until as much of the rust as possible has been removed. Hose down the furniture to remove any rust dust. Once that’s done, apply a rust converter to the area. Let it dry for at least four hours before you consider anything else.
The rust converter will bind any remaining rust dust. In doing so, it readies the area for the paint to stick to it. Once all the rusty areas have been sanded, painted with a rust converter and allowed to dry for at least 4 hours, you can move on to the next step.
Step 5: Apply the primer
The second last step to repainting your aluminium garden furniture is applying the primer.

You’ll need a primer, especially for aluminium. Credit: Shutterstock
This is a very important step since paint doesn’t stick too well to aluminium. The reason for this is that aluminium is a non-porous metal. The primer you’ll need to use will also need to be a special acid-based primer if you want it to stick at all.
Once you’re done with the primer, let it dry for a few hours before moving on to the next step. If any areas didn’t stick too well, clean away the loose primer and prepare the area again. Once ready, reapply the primer and let it dry again.
In some cases, you will need two coats of primer to get the paint to stick to the metal. If the primer appears to be too thin, apply more primer with a second coat.
Step 6: Apply the paint
Now for the last step, apply the paint in the colour of your choice. This can be anything you like from green to cream as long as it suits your tastes and aesthetics. The paint should stick quite nicely to the primer and give your furniture a level of protection against rust.
It is always a good idea to apply more than one coat of paint. Make sure to let each coat of paint dry before applying another.

Credit: Pixabay
FAQs
How do you remove oxidisation from painted aluminium patio furniture?
One way to remove oxidisation is to soak a cloth in vinegar and then proceed to wipe the vinegar-soaked cloth over the oxidised areas. Once the area is dried, you can use a metal brush to brush away the rust. If any remains, use sandpaper to rub it away. Use a rust binding agent on the area before you do anything else with it.
What paint should I use for outdoor metal furniture?
Conventional spray paint usually works best for outdoor furniture. It is also a great idea to choose paint with some UV protection against fading to make it last longer.
Do I need to prime already painted metal?
It is very important to prepare the surface that you’re planning to paint. Paint won’t stick to peeling pieces of old paint or dust. It also won’t stick to a smooth surface so do make sure the area is properly sanded, washed and dried before you apply the new coat of paint. If areas of metal are exposed, it is best to use a primer otherwise the old coat of paint will work perfectly fine as a primer.

Save this pin for later


