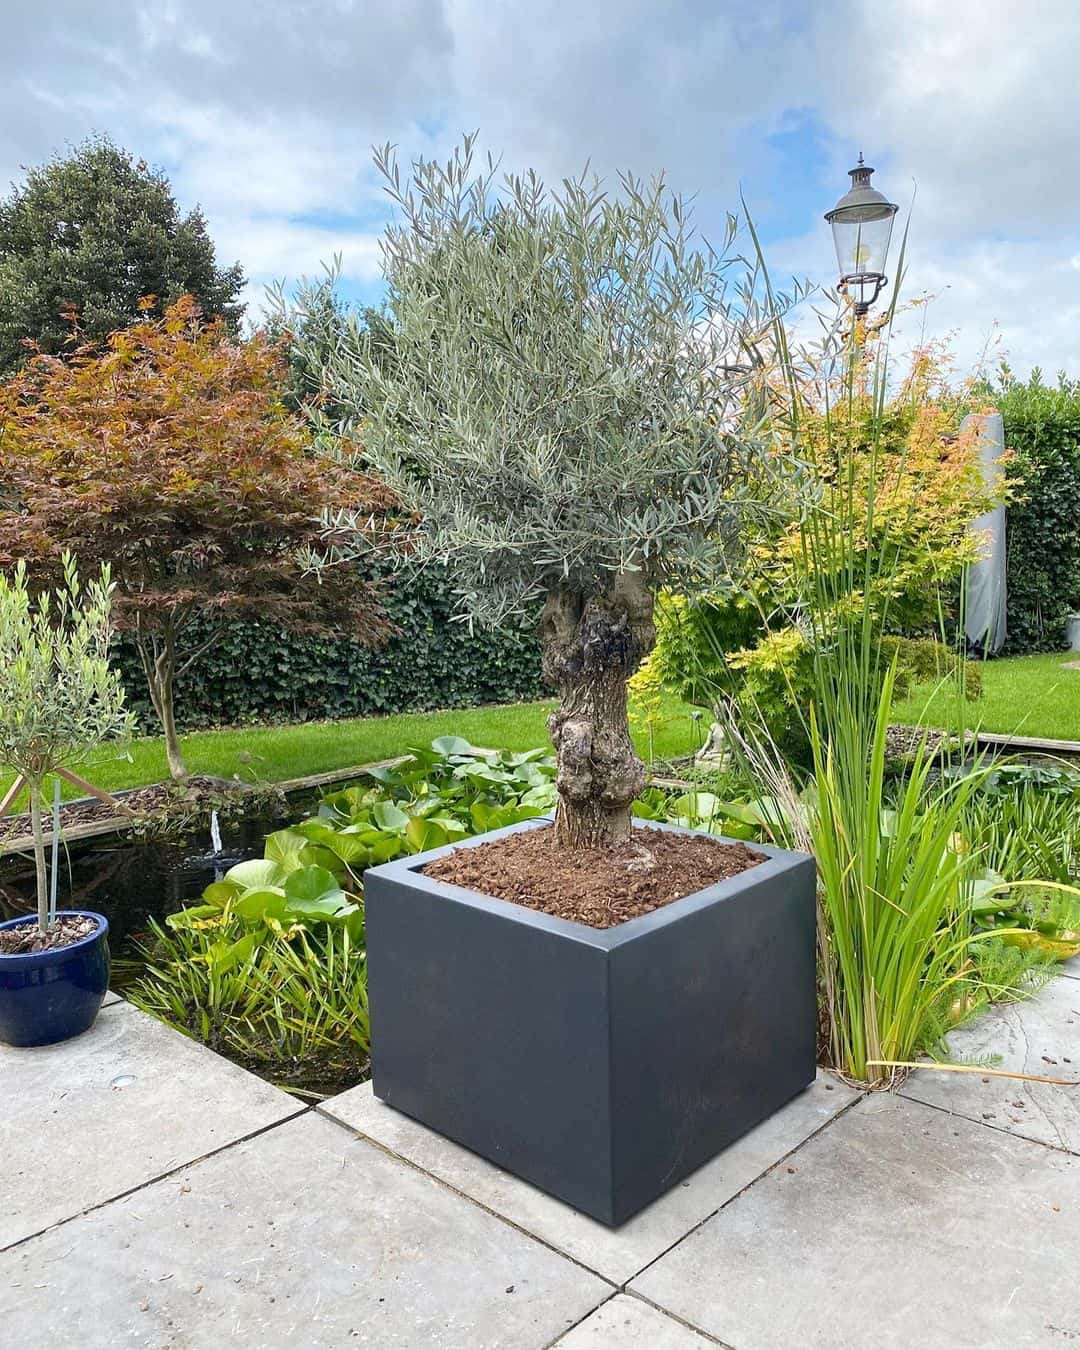
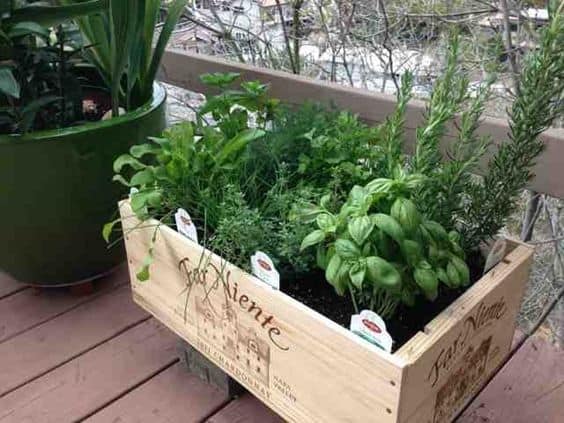
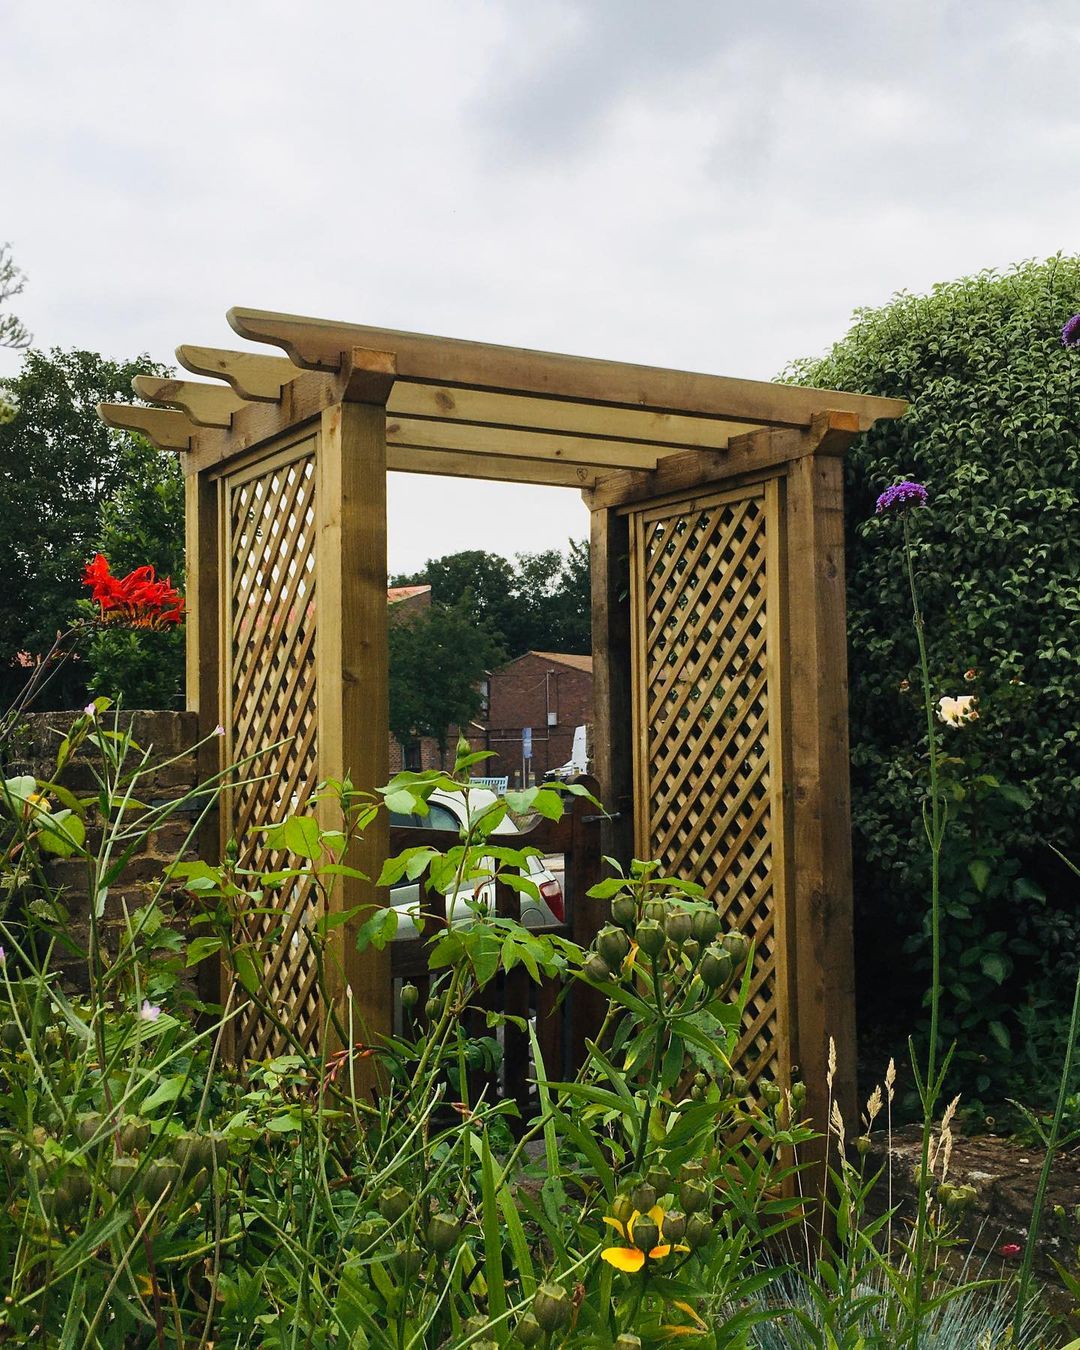
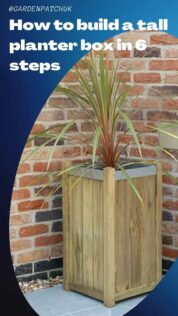
Would you like to create a tall planter box for your garden? These planters are perfect for deep-rooted, trailing and larger plants. Tall wooden planter boxes can be placed next to steps or combined with shorter planters to create a tiered effect.
Keep reading to find out how to make your very own tall planter.
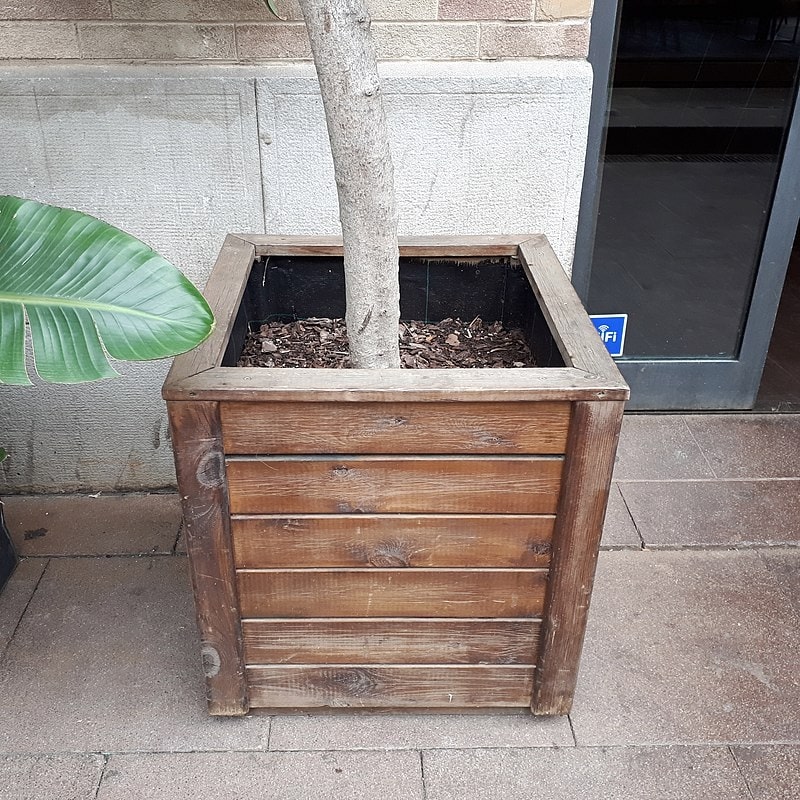
By Fructibus – Own work, Wiki Commons, CC0
How to build a tall planter box
Before you get started, take look at some tall planter box plans to decide on a design.
Here’s what you’ll need to build your own wooden planter:
Tools:
- Saw
- Drill
- Screwdriver drill bit
- Framing square
- Measuring tape
- Clamps
- Paintbrush
- Sander
- Safety glasses
- Face mask
- Ear protection
Supplies:
- Screws
- Wood glue
- Wood preservative
- 3.9 metre 2×12 cedar planks
- 3.6 metre 2×2’s
Method:
Once you’ve gathered everything you need, you’re ready to start building. Here’s how to do it:
Step 1: Take the measurements
This guide is for a planter that’s 90cm tall and 30cm wide.
Take your measuring tape, some chalk or a pencil and the framing square. Place the wooden planks on a flat surface before starting. This will make it easier to work with.
Since this planter will be 30cm wide and 90cm tall, you will need to measure out 13 pieces of wood that are 30x30cm long. These will form the base and the walls of your planter.
For the 2x2s, you can simply measure out 90cm and make a mark on the wood.
Use the framing square and chalk/pencil to draw straight lines where you need to cut the wood. Once you’ve marked the pieces you’ll need, move on to the next step.
Step 2: Prepare the wood
Now that your planks are marked out, it’s time to cut them. You’ll need a saw, sturdy workbench and some clamps. Also, remember to put on your safety gear.
Secure the first plank to the workbench with the clamps. Make sure the area you’re planning on cutting protrudes over the edge so you won’t cut into the workbench.
Once you’re ready, grab your saw and cut along the lines you drew in the previous step. Make sure not to drop the wood on your feet! Repeat this procedure until all the pieces of wood are cut into the required sizes.
Step 3: Assemble your planter
The best way to do this is to start with the sides. Make sure you have glue, screws, a drill, drill bit and a clamp or two ready.
The easiest way to get it right is to arrange the wooden pieces on the ground before you put the whole thing together. The easiest way to do this is to form a + sign on the ground with the 2x2s packed in the open spaces by each corner.
It will be easiest to start with the base. Take the base and one side and line the side up nicely so that they form a 90-degree angle. The easiest way to do this is to clamp the base to the workbench and stand the side next to it on the table. Line up the edges, place some glue where they will make contact and screw in at least 3 evenly spaced screws from the outside of the side into the base.
Repeat this action until all 4 sides are attached to the base. There will be a corner left open, but don’t worry about that just yet.
Step 4: Attach the rest of the sides
Once the base structure is done, you need to attach the rest of the side pieces as well as the corners. Start by grabbing a 90cm 2×2 piece. Fit it into the corner left open by the base and attached sides.
Place some glue where it will make contact and screw in a few screws from the outside of the 2×2 into the sides attached to the base. This will create a neat corner and give you something to attach the rest of the side pieces to. Repeat until all the 2x2s are in place.
Next place some glue and snugly fit the second row of side panels between the 2x2s and screw them into place. Repeat until the whole level is done. Do the same with the last level of side panels.
Well done, your box is formed!
Step 5: Drill drainage holes
All planters need drainage holes. Without them, you run the risk of overwatering your plants. To drill drainage holes, use a cup drill bit or even just one with a large diameter. Drill about 3 or 4 holes into the base to make sure the water drains evenly.
Once you’re sure your plants won’t drown, you can move on to the next step.
Step 6: Finish up
Your planter box might appear to be done, but it’s not over yet. To finish, you will need to make sure the wood is treated to withstand moisture. To do this, use a sander with sandpaper to remove any splinters and rough edges from the wood.
Once everything is smoothed over, use a paintbrush and some wood preservative to seal the wood and stop the planter from rotting. Make sure to read the instructions on the preservative bottle for the best results. Sometimes just one coat will do the job, but in some cases, two or more coats are required to properly seal the wood.
Congratulations! You’re ready to fill the planter.

Image credit: Buy Fencing Direct
FAQs
Is it cheaper to build my own planter box?
Building your own planter is usually more cost-effective than buying one. The reason for this is that you don’t have to pay for the effort to build it. Only your own time is needed to get it done.
What can I fill the bottom of a tall planter with?
You can fill the bottom of your tall planter with old plastic containers turned upside down, plastic bottles, broken ceramic, pebbles, small rocks, gravel, recycled cans and more.
Which plants look good in tall planters?
You can plant just about anything in a tall planter as long as you take into account the care of the plant. It’s possible to plant small trees, perennials, trailing vines or even annuals in a tall planter. Consider where you’ll place your planter before deciding on the plant.
Save this pin for later


