A deck is a perfect place to relax after a hard day’s work or dine out with friends on warm summer evenings. So why not make it as appealing as you can?
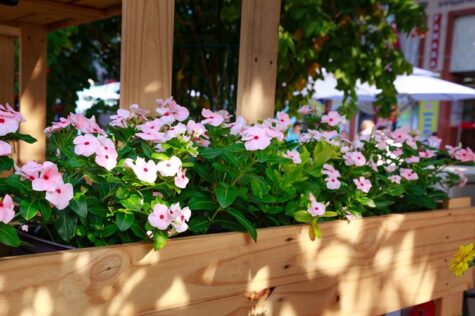
It’s not just about buying outdoor furniture, it’s also about creating the right atmosphere by adding some colour and fragrance to your outside space. Flower boxes are a great way to accessorise your deck and create a welcoming feel.
If you don’t want to spend too much on flower boxes, you can always build your own and show all your friends just how skilled you are!
Read our step by step guide and learn how to build a flower box on a deck.

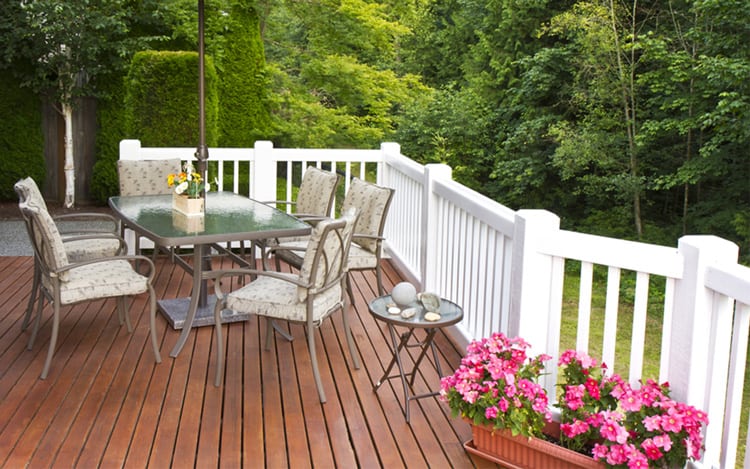
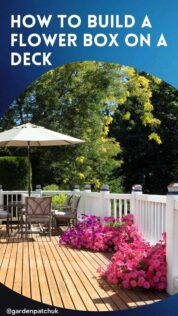
Adding flower boxes to your deck not only creates a welcoming feel, but they look beautiful too. Credit: Shutterstock
Materials and tools you’ll need
You can build a flower box using whatever wood scraps you have around the house. If you don’t have any, you can buy some at any DIY store.
For a flower box, it’s always best to use cedar wood which is durable and weather-resistant. Pressure-treated lumber is less expensive and the second-best choice.
The number of wooden boards you’ll need depends on how many flower boxes you want to build, and how tall you want them to be.
Another thing to consider is the deck rail where you’ll place your flower box. Measure the width of the deck rail and buy wood boards that are at least 2 inches wider, to leave room for rail spacers. You’ll also need some wood for the slats that make up the walls of the box.
As for the length of the box, this is entirely up to you. You can go for one long box, or you can build several smaller ones. The latter choice allows you more variety as you can use them to grow different plants, each with its own soil.
As well as wooden boards, you’ll need screws and some glue. As for tools, a good saw is essential for this job, preferably an electrical one.
So, as a recap, the things you’ll need are:
- Wood boards (cedar or pressure-treated)
- Glue
- Screws
- Drill
How to build a flower box for a deck step by step
After cutting the boards, build the box and attach the flower box to the rail. It’s that simple.
Let’s take a closer look at each step:
Step 1 – Cut the boards to measure
Start with the bottom of the box. As mentioned, the bottom needs to be a bit wider than the deck rail. This is because you’ll have to add rail spacers once you’ve finished building the box.
Cut the slat boards the same length as the bottom.
Step 2 – Build the box
Next, build the longer walls. Work your way from the bottom upwards adding as many slats as needed. Keep in mind that if the flower box is too high, there’s a high risk it will topple over.
You can use an adhesive to attach the slats to the bottom. This is just to help you with the next step, when you screw the two parts together. Place the screws 2-3 inches apart and pre-drill the holes to avoid wood splintering.
The smaller sides of the box should consist of a single board. Fix the slats to these two boards with nails or screws. Your flower box is almost ready.
Step 3 – Attach the flower box to the rail
Even if the flower box fits snugly on the deck rail, you’ll need to attach it securely to avoid accidents. This is a must if you have kids or a large dog that jumps around a lot.
The most elegant way to secure the flower box to the deck railing is to use rail spacers. You can create rail spacers from leftover bits of wood. The rail spacers should be 1-2 inches high.
Attach the spacers to the edges of the bottom of the box (on the longer side). If you don’t have long pieces of wood, cut smaller bits of wood to use as spacers. Attach them to the bottom at regular intervals.
Tip: Another way of attaching the flower boxes to the rail is to use a strong adhesive or nails. But remember that you won’t be able to remove them without seriously damaging the deck rail.
Once the flower boxes are ready, place them on the rail and… happy planting!
Read more: What can I plant in a flower box?
How to hang a flower box on deck rails
Flower boxes look great when they are hanging from the deck rail. In this case, it’s best to build smaller boxes. The wood itself is already heavy, and you have to take into account the weight of the soil inside them.

Credit: Shutterstock
Here are two straightforward ways to hang a flower box on a deck rail:
Use over-the-rail brackets
You can find over-the-rail brackets at most gardening stores. They are basically metallic hooks you can place on top of the rail. You’ll need two brackets for each box. A bracket has a vertical side with holes in it. Simply screw this part on the side of the box.
Next, place the bracket on top of the railing. You need to keep in mind that if the boxes are too heavy, the bracket will press into the railing and might damage it over time.
Use ropes or chains
This is the easiest and least expensive way to hang a flower box over the deck rail. If you have a coil of sturdy rope, you just need someone to hold the box at the side of the rail while you wrap two lengths of rope around it. The loose ends go over the rail and all that’s left is to tie a secure knot.
If you use a chain instead of rope, the process is the same. Instead of making a knot, you can secure the chain with a padlock. It will make it look more interesting too.
Important: Make sure that the rope or the chain is sturdy enough to hold a heavy flower box. Rope is preferable, as the chain might damage your deck rail, just like the brackets.
The wrap up
Building flower boxes for your deck isn’t hard and they look great. You can grow whatever plants you prefer. Trailing plants work particularly well in these flower boxes.
Put flower boxes all around the deck rail and plant beautiful hanging flowers in them. You’ll give your garden a rustic air even if you live in the middle of a busy city.
Save this pin for later

