Planning to decorate a walkway in your garden? There’s no better choice than an arbour. You can also place a simple arbour on the path that leads to your front door or you can use one to provide shelter for a bench in the garden.
The easiest way to build a simple arbour is to use planter boxes to support the posts. The plant that will cover your arbour will grow directly in the planter box. This eliminates unsightly gaps between the wooden posts and the vines.

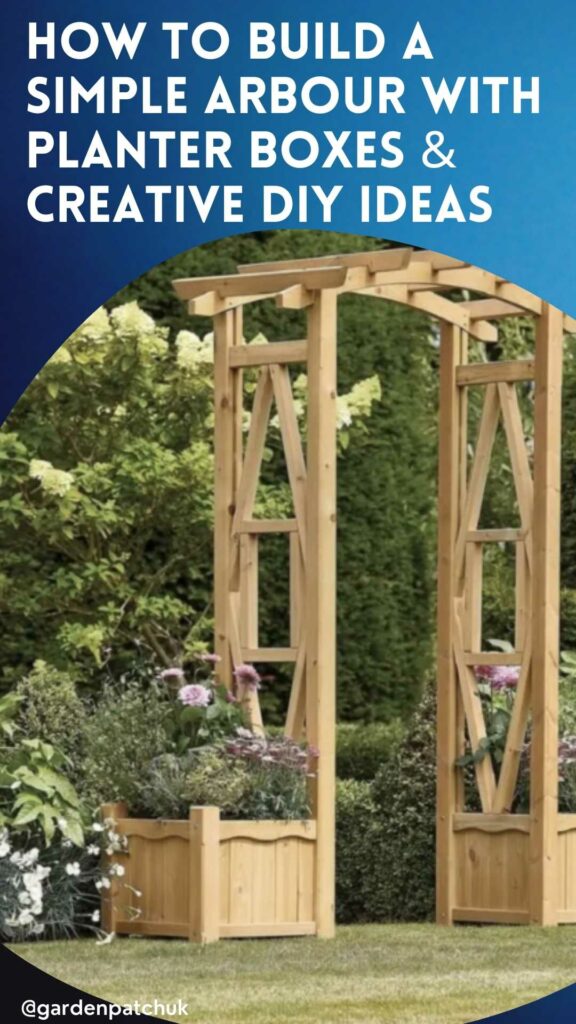
Add a focal point to your garden with a garden arbour. Image credit: Homebase
How to build an arbour planter box step by step
The main advantage of using planter boxes to build an arbour is that you won’t have to bother much with anchoring the posts. An arbour needs four vertical posts and these need to be securely anchored in the ground.
The traditional way of putting up the posts calls for digging holes and filling them with concrete. This requires a lot of hard work, and the mixing and pouring of concrete can create quite a mess in your garden. It’s even worse if you want to build an arbour along a concrete or tiled path. No way you want to dig holes in that!
If you use planters, there’s no digging and no damaging your path. Also, it’s easier to adjust the posts if you discover they’re not perfectly vertical. Not so easy to do after concrete dries!
Materials and tools you’ll need
- 4 vertical 4×4 posts
- 2 horizontal 2×6 beams
- 2×4 rafters
- 2×2 lattice strips
- 4 square planter boxes
- 2 ½ inch deck screws to spare
- Ladder
- Electric screwdriver
Step 1 – Prepare the materials and tools
You can use whatever type of wood you prefer. Pressure-treated pine pieces are the most affordable but they might require staining to prevent water damage. Cedar wood fares better when exposed to outdoor conditions. Cedar has antibacterial and antifungal properties, and the natural oils it contains make it water-resistant.
You can do without the lattice strips if the rafters are close to each other but the strips make it easier for vines to cover the roof of the arbour. Also, the lattice will provide support to the climbing plant and make the roof stronger.
Since the posts need to be close to each other, the planter boxes can’t be too big. Choose square planter boxes, making sure there’s a bit of space left between those that go on each side of the arbour. They should be high enough to offer sufficient support for the posts.

Adding lattice strips to your arbour will give climbing plants something to hold on to. Image credit: Amazon
Step 2 – Put the posts up
Decide exactly where the arbour will go and put the planter boxes in place. Put the four posts in the centre of the boxes and start filling the planter with garden soil. You’ll need someone to keep the posts in place while you do the filling.
You should plumb the posts to make sure they are perfectly perpendicular to the ground. Check to see if they align well. The good thing with using planter boxes instead of concrete holes is that you can easily adjust the position of the posts if necessary.
Step 3 – Build the upper frame
You’ll need a ladder to work on the upper part of the wooden structure.
First, you need to attach the two horizontal beams on top of the posts. The two beams should be parallel to each other.
Use 2 ½ inch deck screws to attach the wood beams together. Make sure to pre-drill the holes to avoid wood splintering.
Next, screw in the rafters, 2-3 inches apart.
Finally, you need to place the wood lattice strips in between the rafters, and the job is done.
Tip: You can use leftover lattice strips to create walls on your arbour. Secure the lattice sheets between the vertical posts on each side. Simple nails will do for this job. The lattice sheet walls allow the vines to work their way up and the arbour will look better too.
You can now plant the vines and watch them grow over the arbour.

Try growing climbers like clematis over your arbour. Image credit: @fishtailcottage
Creative garden arbour ideas
You can use a simple arbour with planter boxes in many ways. You can also shape it as you like. Here are a few tips:
Build a garden arbour instead of a gazebo
If you don’t want to build a gazebo in your garden, you can create a secluded shaded corner by putting up an arbour instead. If you use planter boxes for the support poles, you can take down the structure when needed.
This is a good solution if you don’t want to build a permanent structure in your garden. All you have to do is place the support poles that go on the sides of the arbour at a larger distance, up to 6 ft for instance. To get some privacy, it’s essential to build lattice sheet walls.
For this type of arbour, it’s best to go with cedar wood. With pressure-treated pine, you’ll have to wait at least six months before staining the wood so won’t be able to grow climbing plants up it before then.

Adding an arbour to your garden will create a striking focal point, especially when it’s surrounded by flowers and climbing plants. Image credit: @jimcharlier
Custom design your arbour roof
When you build the roof of the arbour, you can design it in various ways. For instance, you can cut the horizontal beams to measure, so they fit precisely on top of the posts.
Another option is to let them overhang the posts by up to 1 ft. A climbing vine with low-hanging flowers or leaves will have more space to grow and will look striking.
You can also cut the ends of the horizontal beams at an angle or in a curved shape. This works better with climbing plants that have small flowers and leaves, like jasmine, so the underlying wooden structure is not obscured.

Letting the roof struts overhang the edge of the arbour will provide more space for climbing plants or decorative lights. Image credit: @cannongriffindesign
Add a bench
What could be more relaxing than sitting under the shade of a rose-covered arbour? If you’ve got some wood to spare, why not add a seat to your arbour? You could attach it to the planters or place a freestanding bench under the arbour. Check out our ideas for making rustic garden furniture.
The wrap up
If you want to create a focal point in your garden without too much work, you can build a simple arbour with planter boxes. The posts of your arbour will go inside the planter boxes.
If the planter boxes are deep and filled with plenty of soil, the wooden structure of the arbour will be sturdy enough to withstand storms.
To make sure the whole structure is covered in vines, use wood lattice sheets to support the plants and help them grow close to each other, creating a tight roof and walls.
That’s about it! Have fun building your own arbour with planter boxes.

Save this pin for later


